SNMP activation on an APC UPS
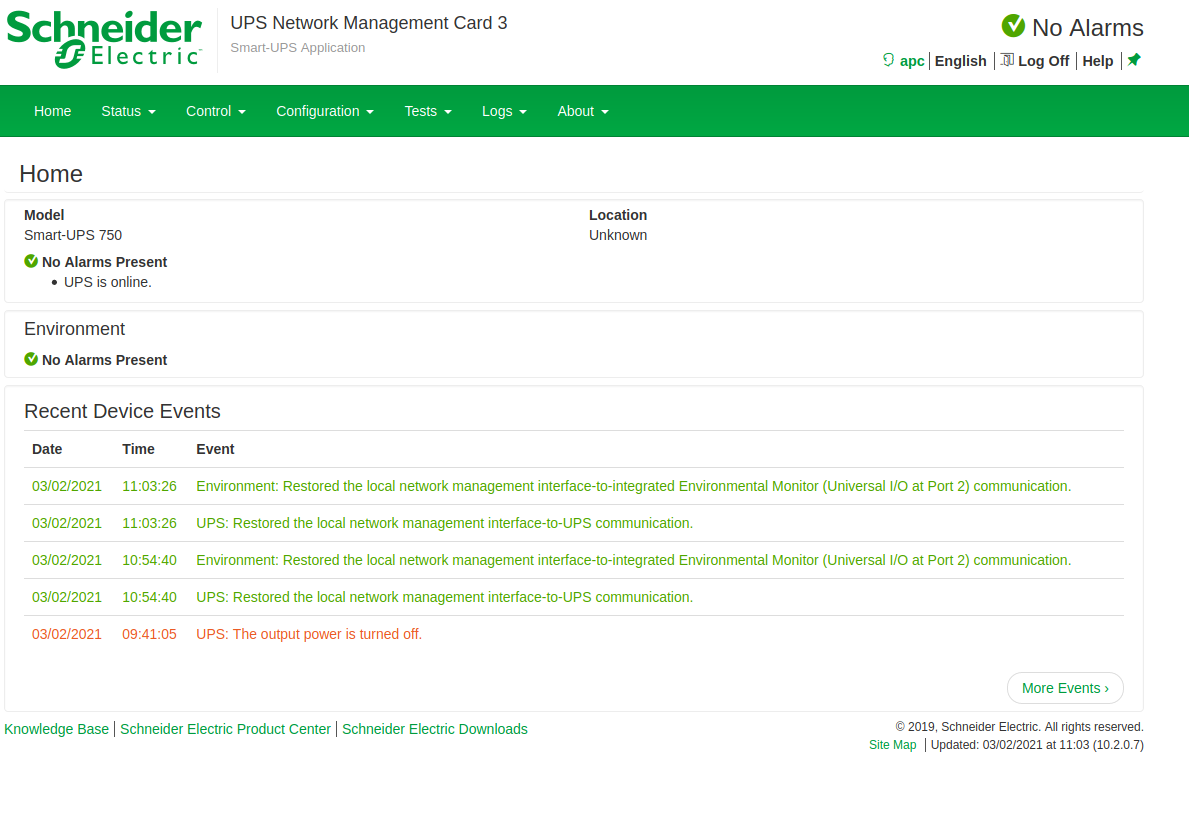
Once connected to the interface with the user admin (apc). You will normally see this page:
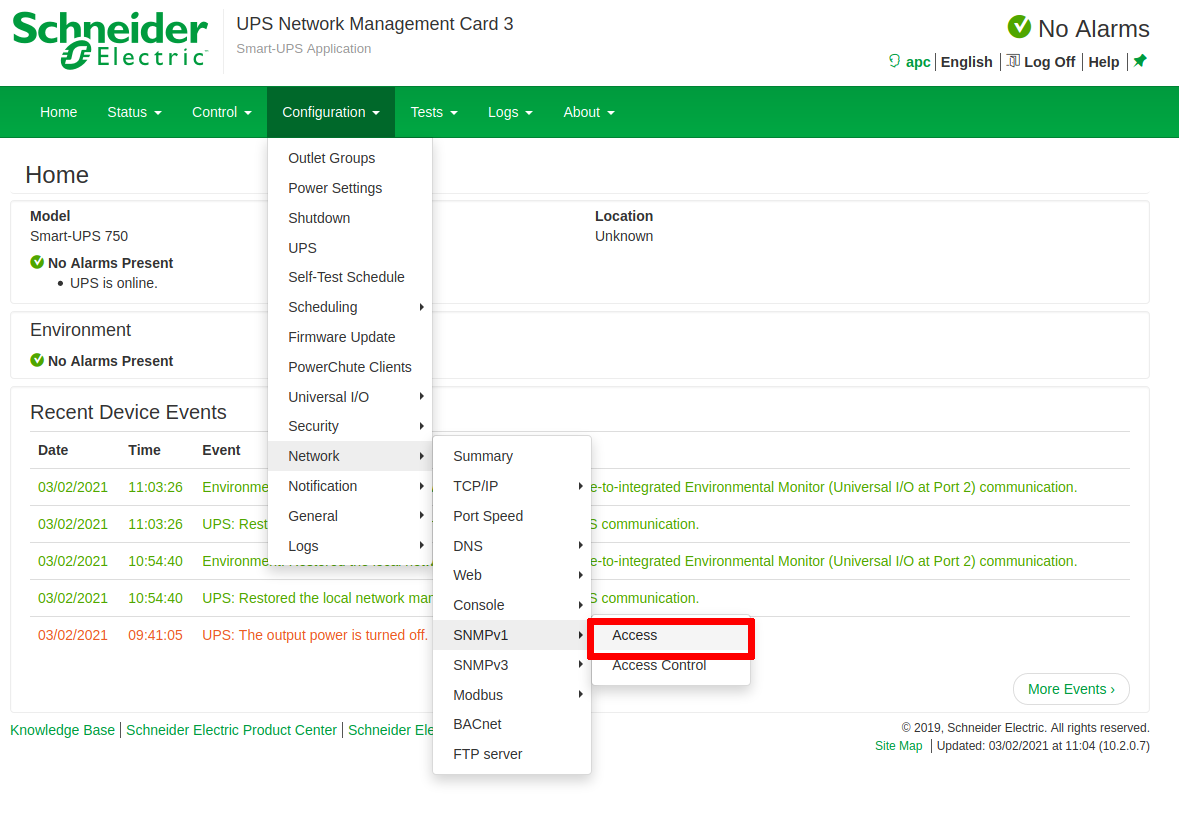
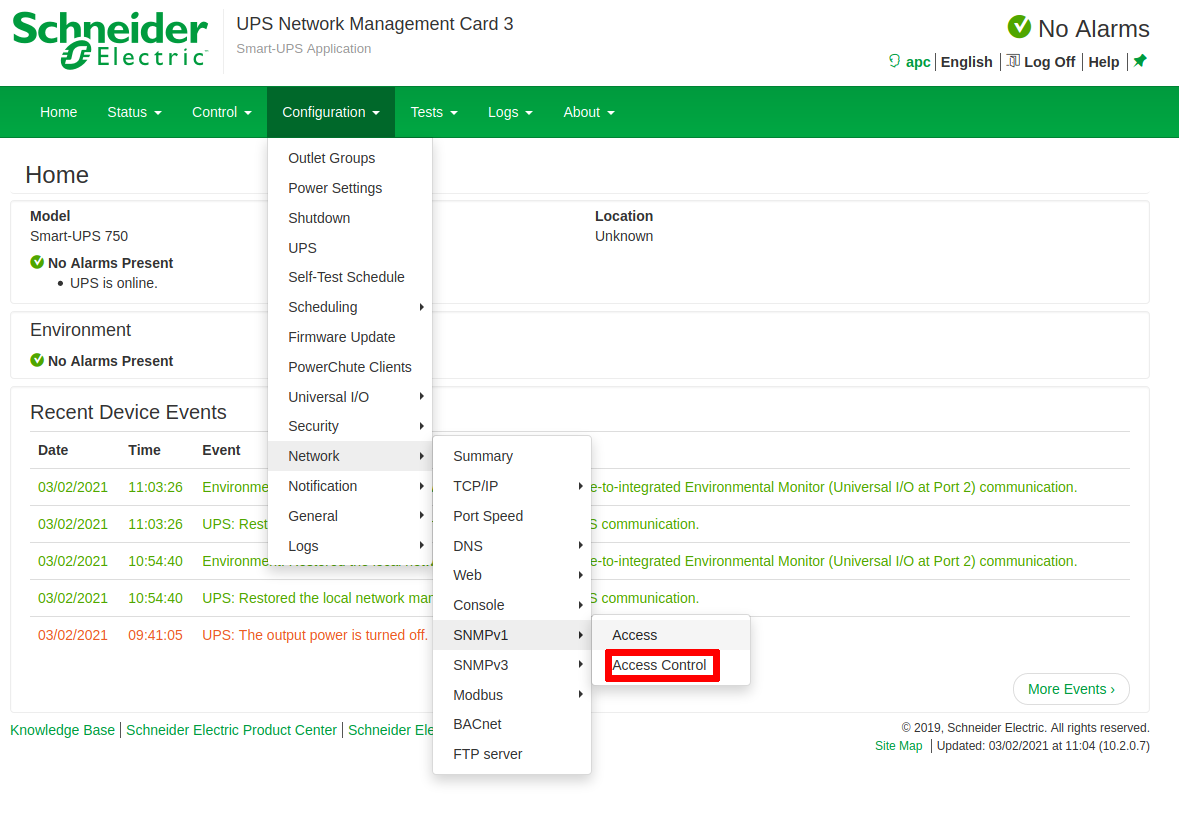
To configure SNMP, go to the “Configuration” tab, then to the “Network” menu, then to “SNMPv1” and then click on “Access”.
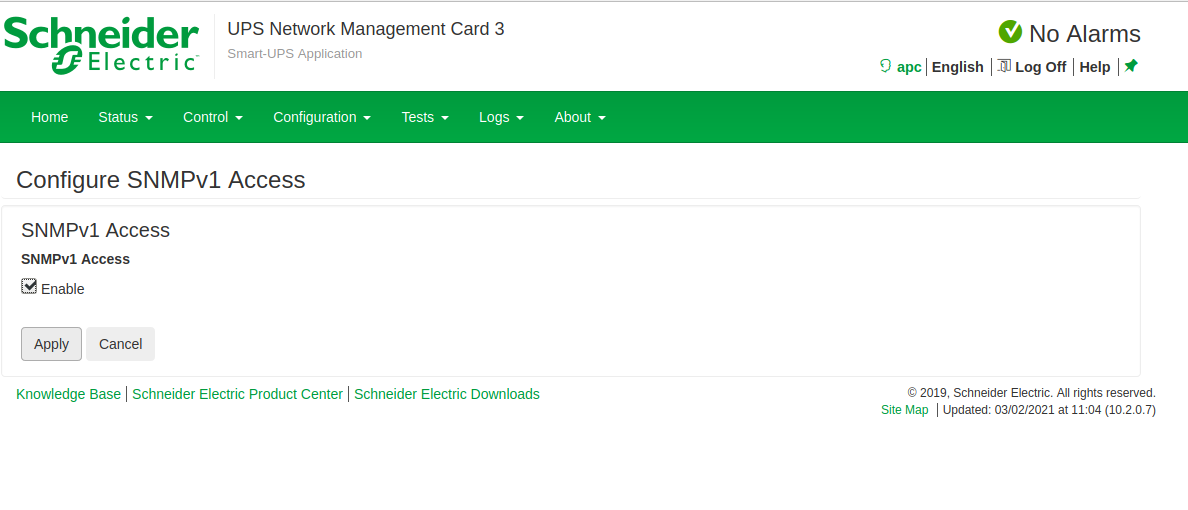
The next page appears, tick the “enable” box and then click “Apply” to activate SNMPV1.
Next, you need to configure the SNMP managers and the community.
Go to the “Configuration” tab, then to the “Network” menu, then to “SNMPv1” and then click on “Access Control”.
The following page will appear:
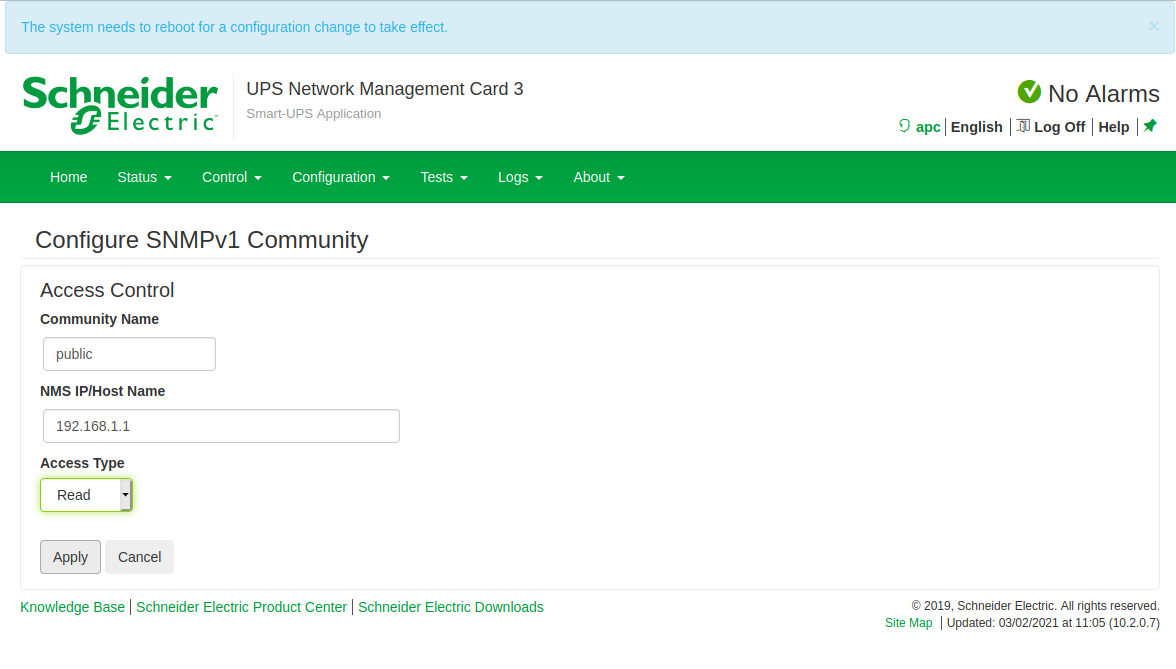
Click on “Community Name 1” to configure the first community:
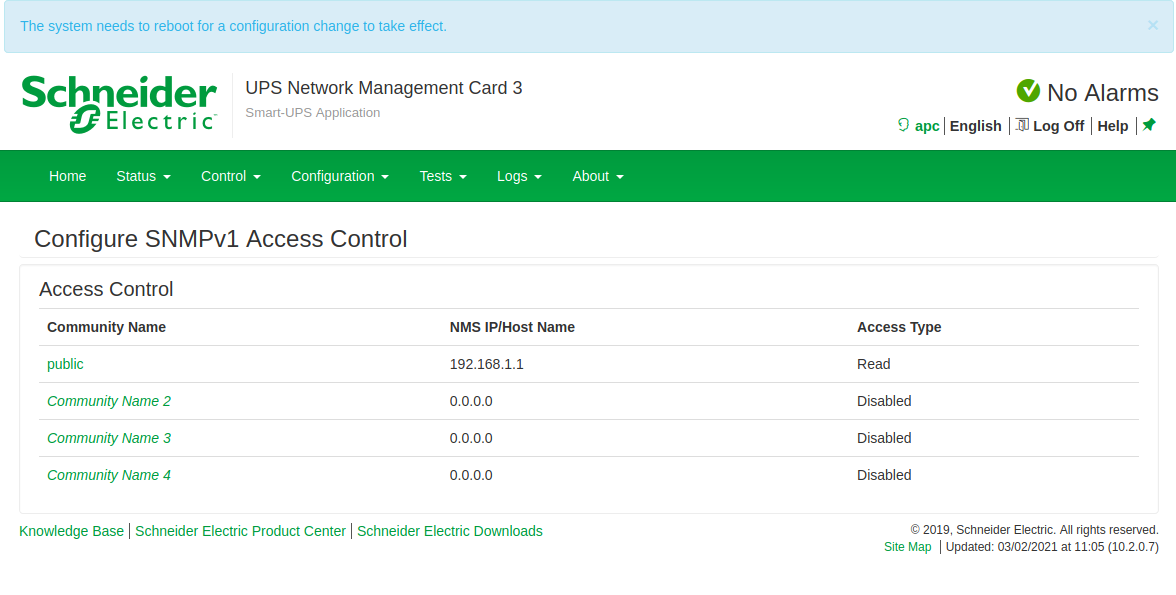
Enter your community (here: public) and the IP address of your Esia or Unity. To finish, click on “Apply”. And you're back on the previous page
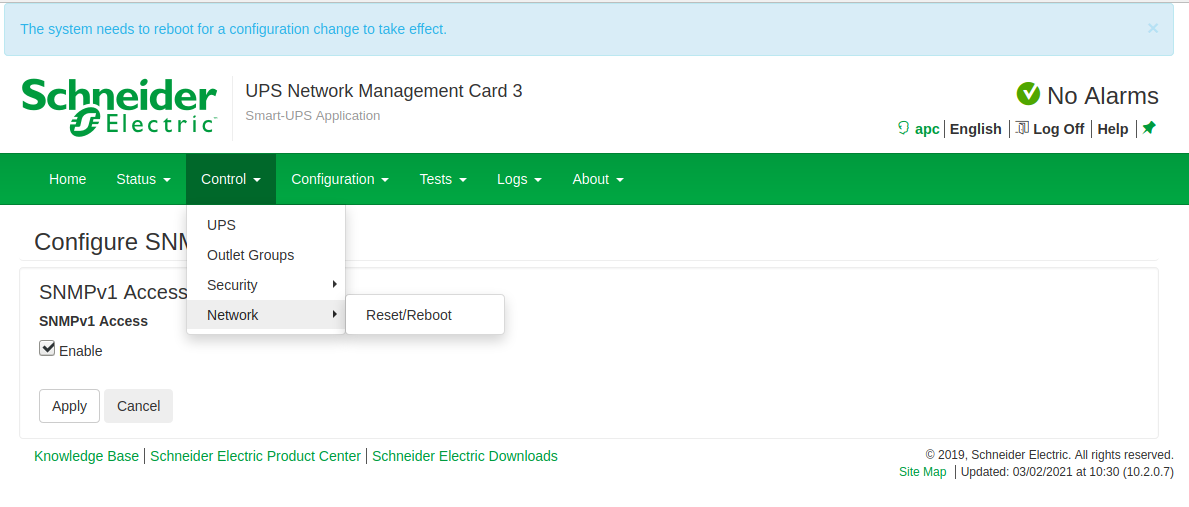
You will notice that a blue banner has appeared, saying that you need to restart the management interface. To do this, go to the “Control” menu, then “network” and “Reset/reboot”.
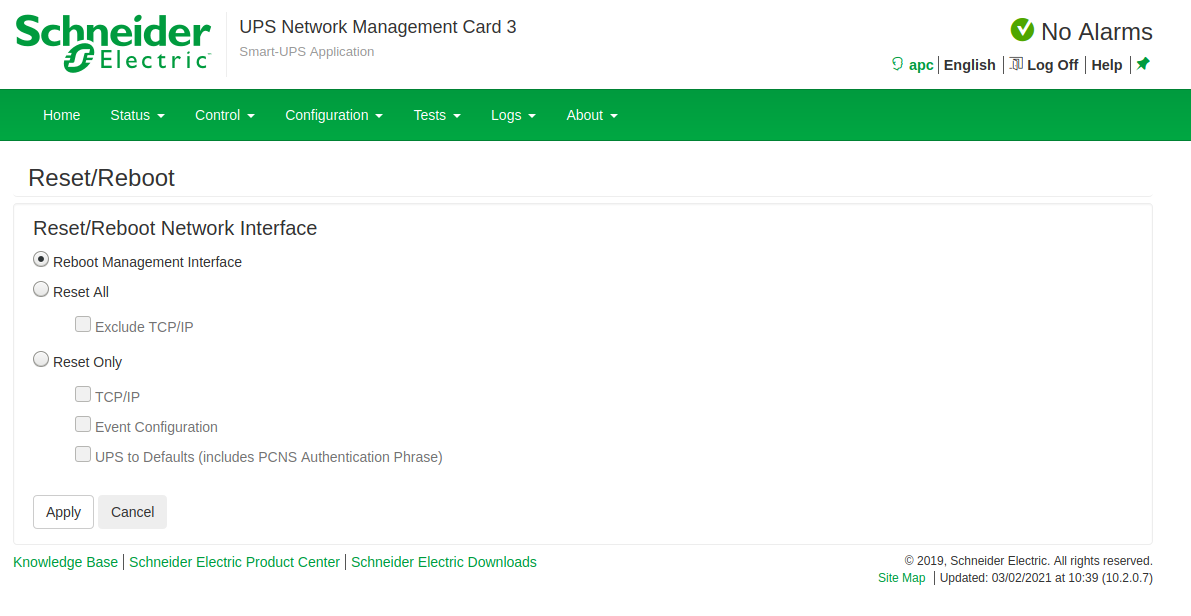
Leave “Reboot Management Interface” ticked and click “Apply”.
If you have connected an APC temperature sensor, you can add the 'CHECK_SNMP_APC_SENSORS' service, which is not in the default UPS pattern.
