Add Esia Unity (for ESIA Unity only)
To add a Unity, simply :
Plug the Unity into the network you wish to monitor.
Wait for the ESIA server to link your box to your interface (between 30s and 2min).
When the box is linked to your server, a notification appears in the top left-hand corner, as shown below.
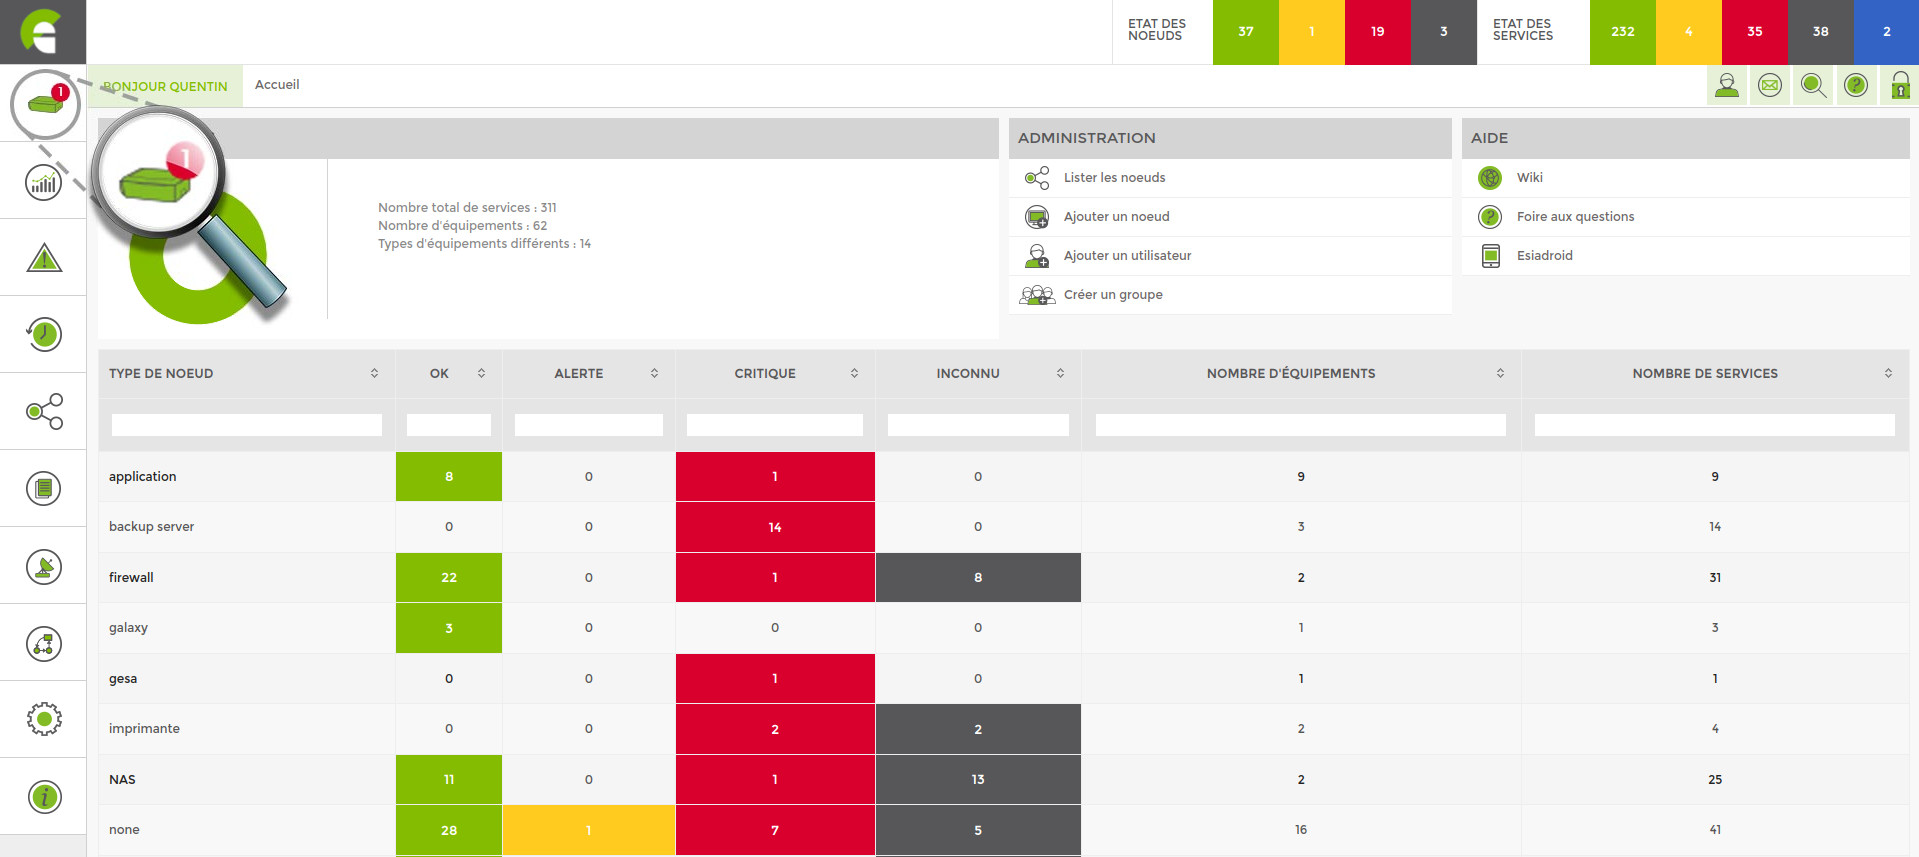
Click on it to access the Add Unity Device page.

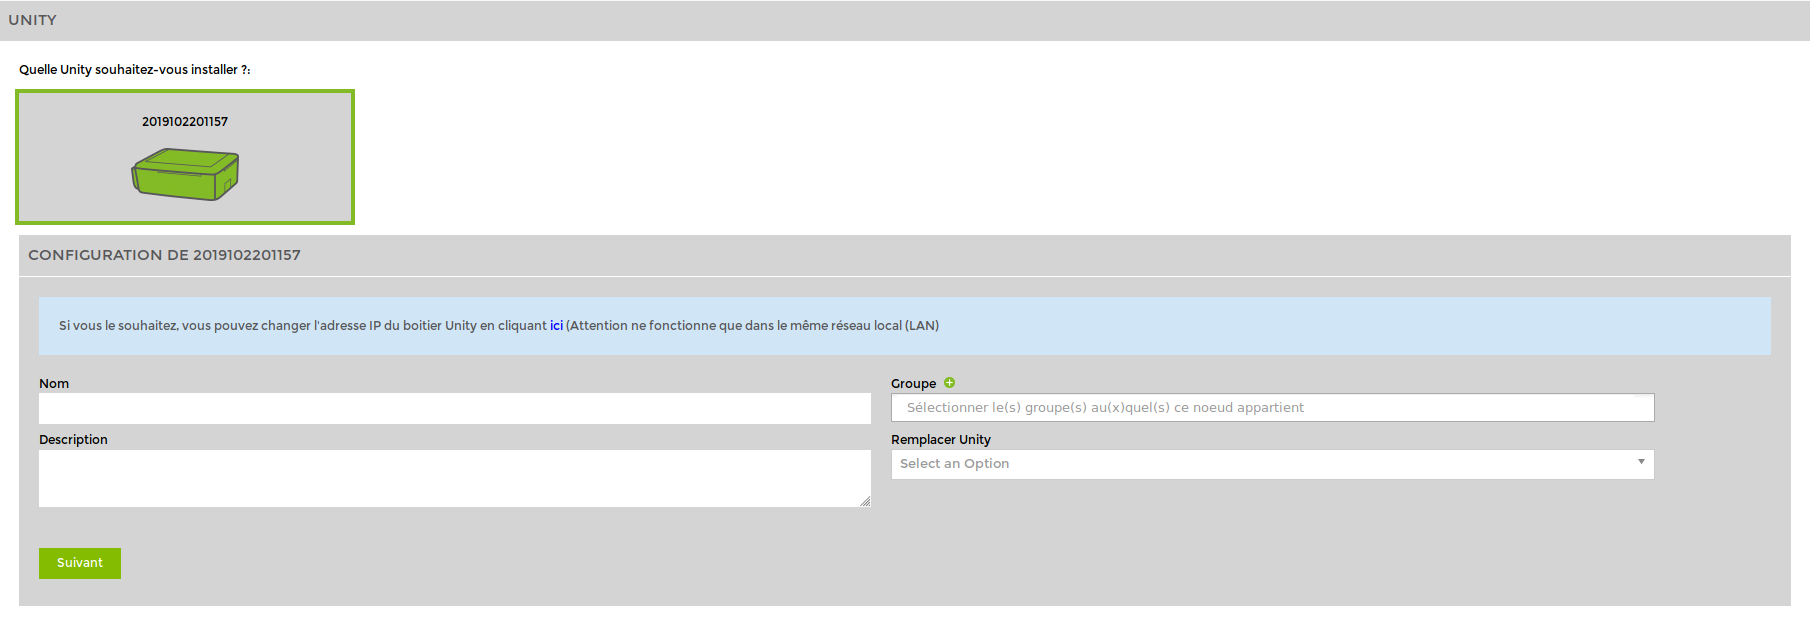
Click on the Unity you wish to add.
Give it a name, a description if necessary and finally link it to a group. Then click on “Next”.
Adding nodes
Once you have completed the steps for adding Unity, you will be taken to the following screen :
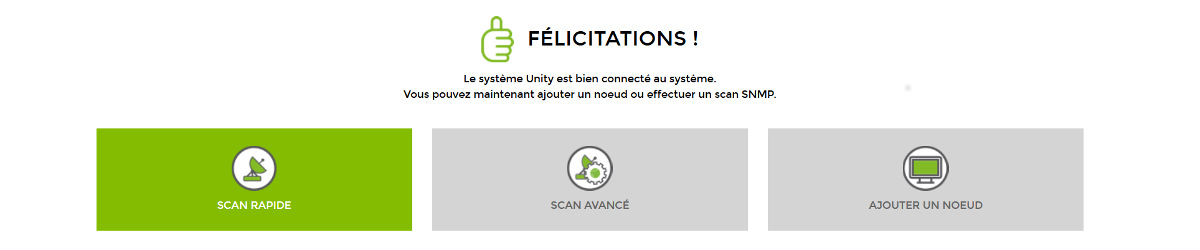
You have three options:
Perform a quick scan
Unity will scan the IP range it is in and then test the SNMP communities (public and read by default). Once the scan is complete, it will automatically display all the nodes it encounters. This can take several minutes depending on the size of the network.
Please note that while the scan is in progress, a radar turns on the import icon in the menu. Refresh the page regularly to see when the scan is complete.
Perform an advanced scan
As with the quick scan, the network will be discovered automatically. However, before it starts, you will be asked to determine the IP range and SNMP community(ies) you wish to scan.
Add a node manually
If you do not wish to scan the network automatically, you can always add nodes manually (see Adding nodes manually).
For more information on scans, see Perform a network scan.