Table of Contents
Enable SNMP on VMWARE ESXi
Enable SSH with vSphere Client
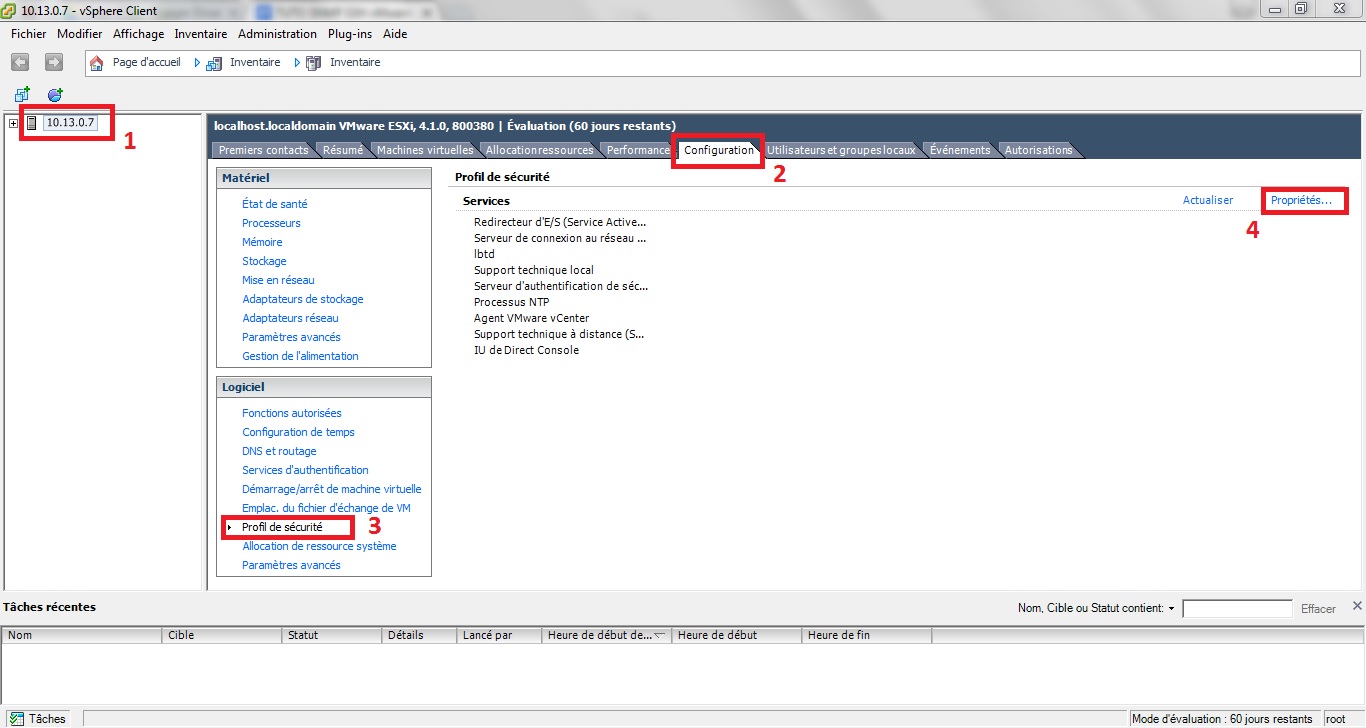
Click on the ESXi IP, then under the “Configuration” tab, go to “Security Profile” and then “Properties…”.
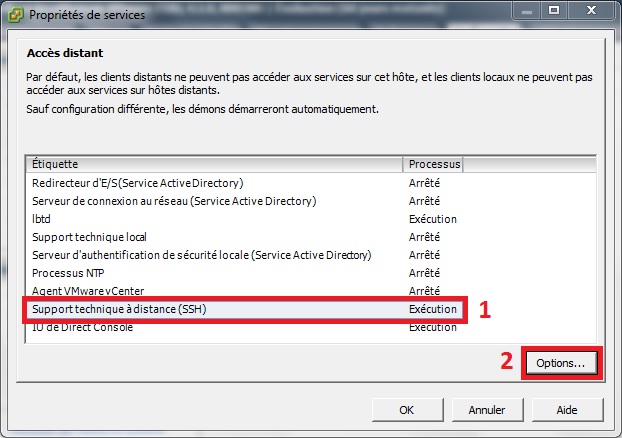
Select “Remote technical support (SSH)” then click on “Options…”.
Select “Start and stop manually” then click on “Start” then confirm with “OK”.
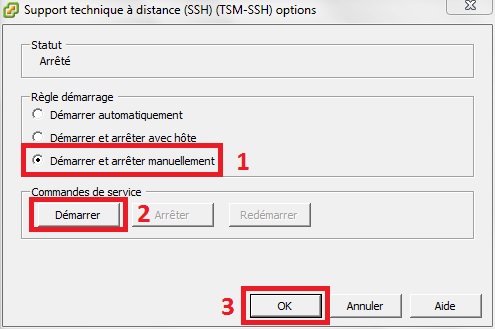
SSH is now activated!
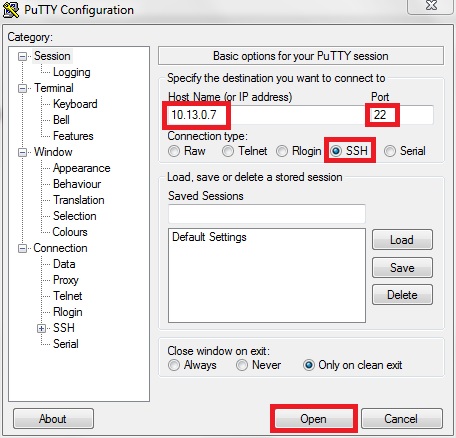
Using your IP, connect to your ESXI using SSH (port 22) (for example with Putty).
Configuring SNMP on VMWARE ESXi 4.1.0
Once you have logged in with your login and password, edit the snmp.xml file located in etc/vmware/
You can do this using the command :
- copy
nano /etc/vmware/snmp.xml
Press “i” to switch to insert mode and be able to edit the file
Change the “false” to “true”.
Indicate the community between <communities>My_Community</communities>.
Indicate the targets between <targets>Ip@Port My_Community</targets>.
For example :
<config>
    <snmpSettings>
        <enable>true</enable>
        <communities>public</communities>
        <targets>10.13.0.8@162 public</targets>
    </snmpSettings>
</config>
When you have finished, press the “Esc” key to exit insert mode, then type “:wq” to save and exit the file.
You will need to restart the service for the changes to take effect.
- copy
service.sh restart
You may lose connection to your vSphere Client, which is normal. You can reconnect normally.
The snmp is now activated! <HTML>
<h3>Sources</h3>