Table des matières
How do I configure the Unity IP?
In most cases, the default configuration is sufficient and there is no need to configure the IP manually. This tutorial is only useful if your network does not have a DHCP server or if more precise settings are required (e.g. for specific firewall rules, etc.).
1. Access the Unity configuration interface
A. Obtain the local Unity IP address
If the Unity parameters have been modified and you cannot find its IP address, you can Reset the Unity to restore its default settings.
If your network is not DHCP
Connect your PC to the Unity via a network cable and configure a fixed IP address for this PC in the 192.168.100.0 /24 network (for example: 192.168.100.2). Be careful not to use .200 as this is used by Unity.
Next, open your browser and go to the URL : https://192.168.100.200/
You can go to Connect to the interface
If your network is DHCP
You can find the Unity IP on your DHCP server.
If the Unity is present in the Esia interface
Go to the node page of your Unity.
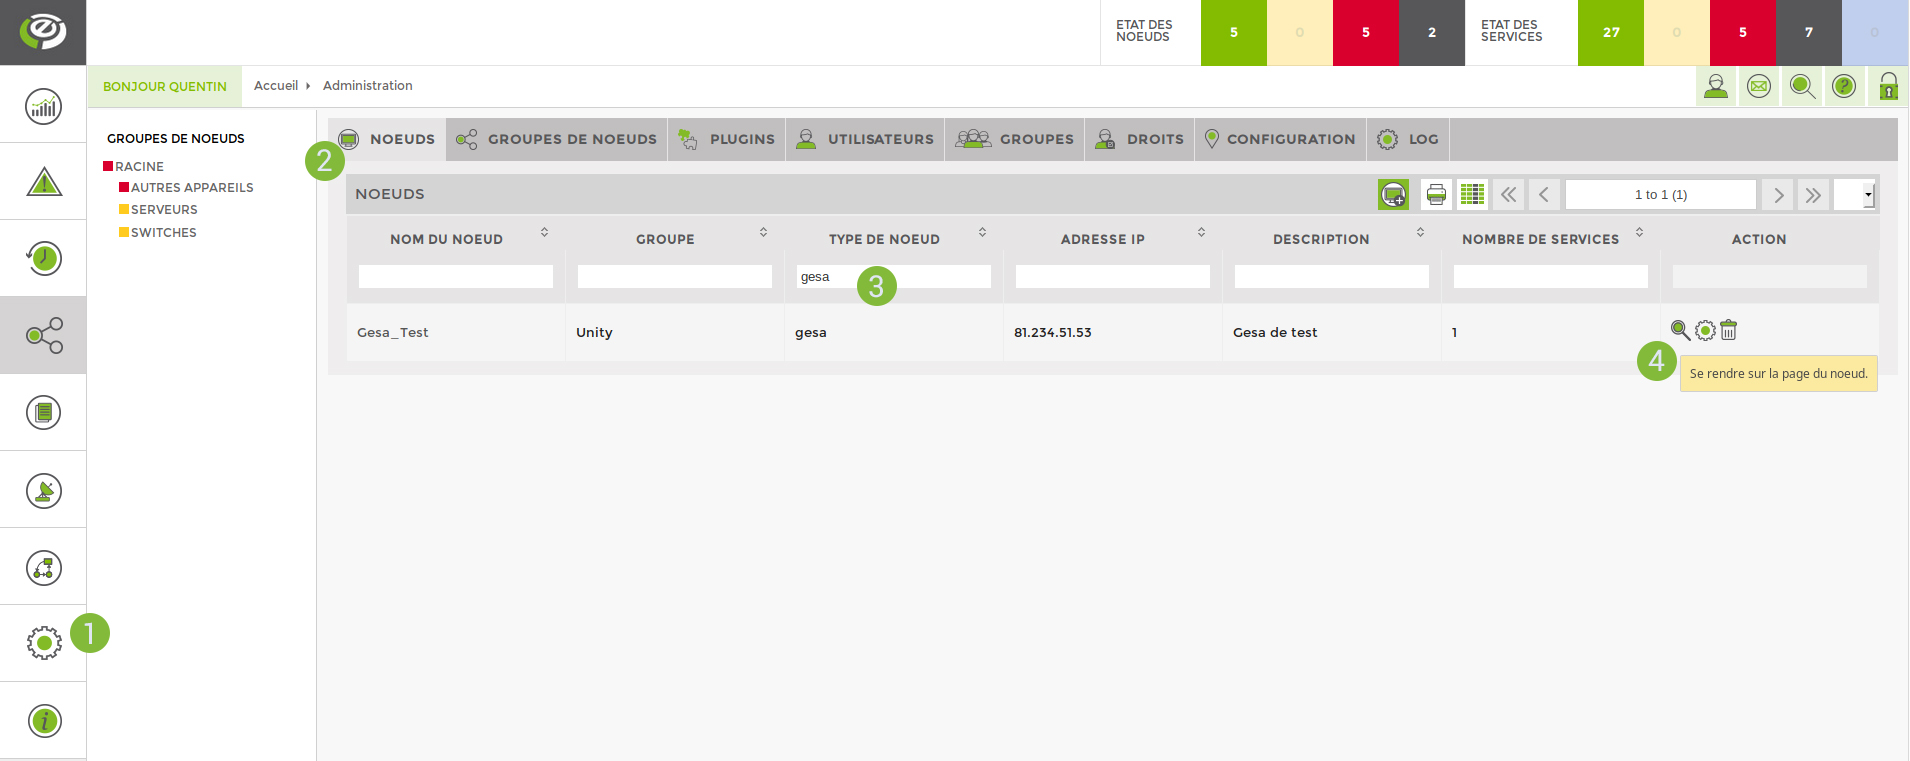
You can find all the Unities via administration:
- Click on the Administration tab
- Then nodes
- Search for “gesa” in Node types
- Click on the small magnifying glass on the line corresponding to the Unity you are looking for
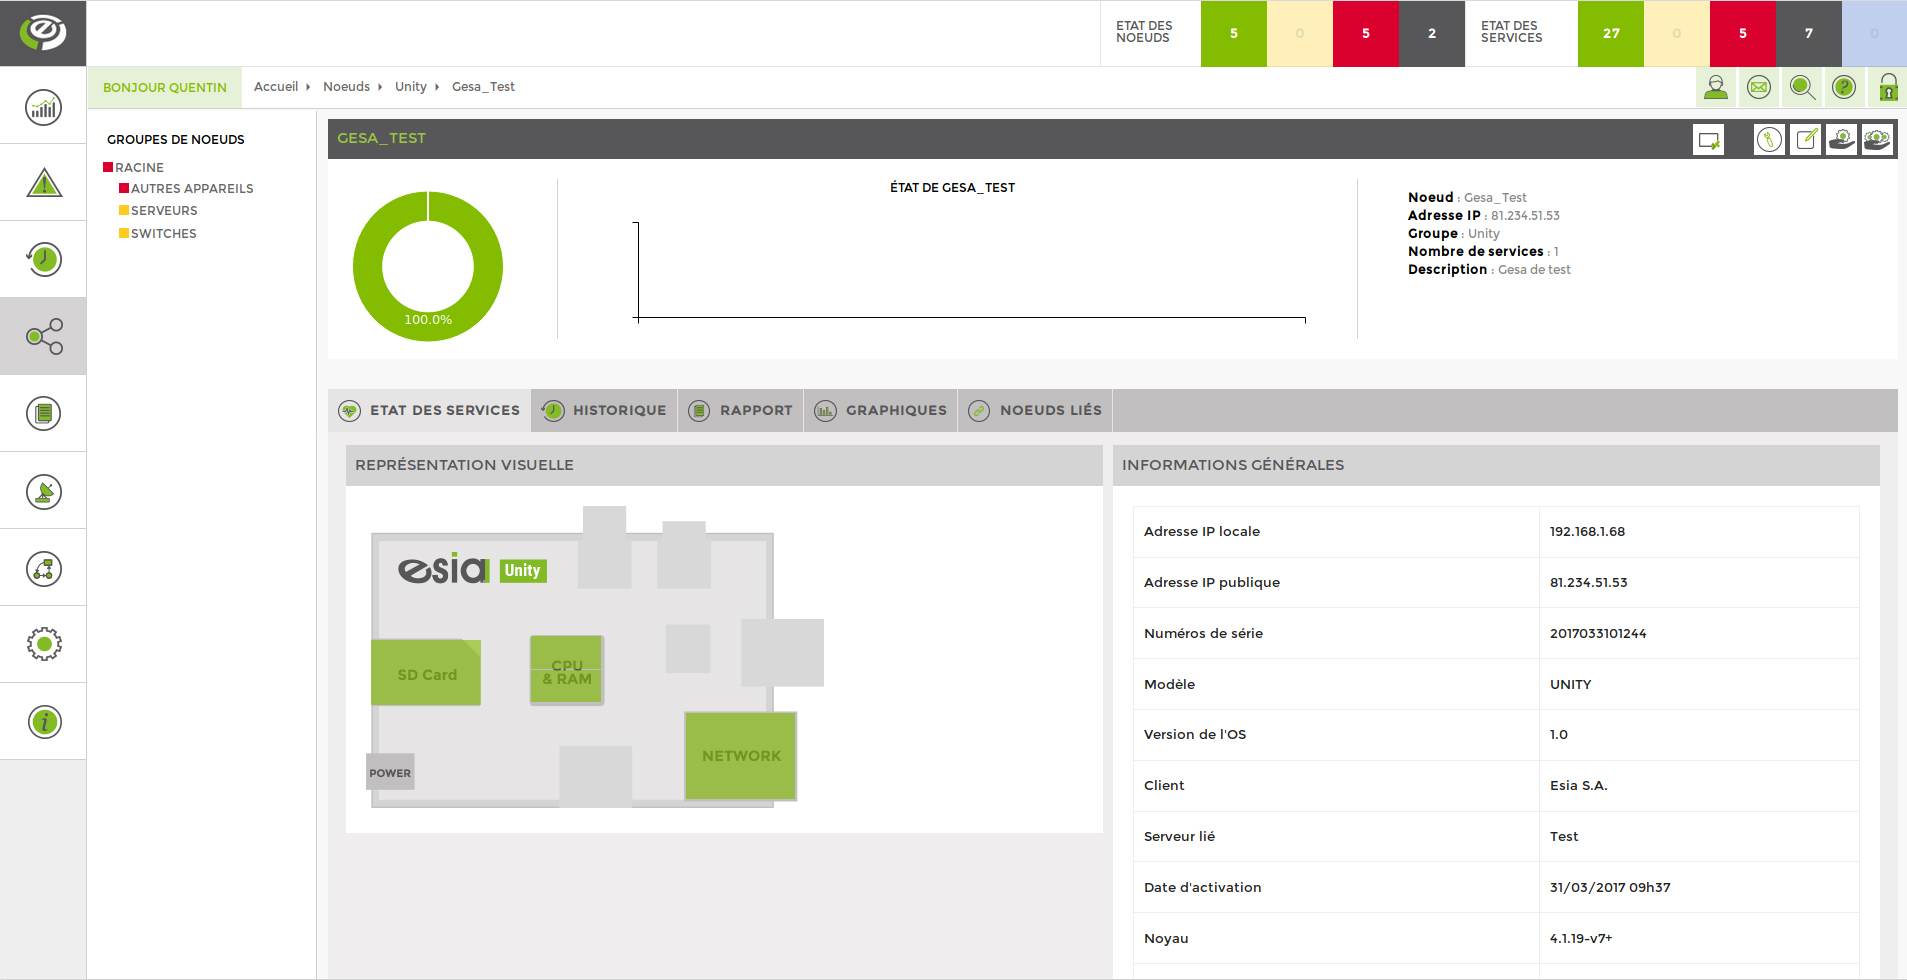
You will be taken to the following page:
In “General Information”, retrieve the Local IP address.
Open your browser and enter the local IP of the Unity in the URL bar.
When adding a new Unity to the Esia interface
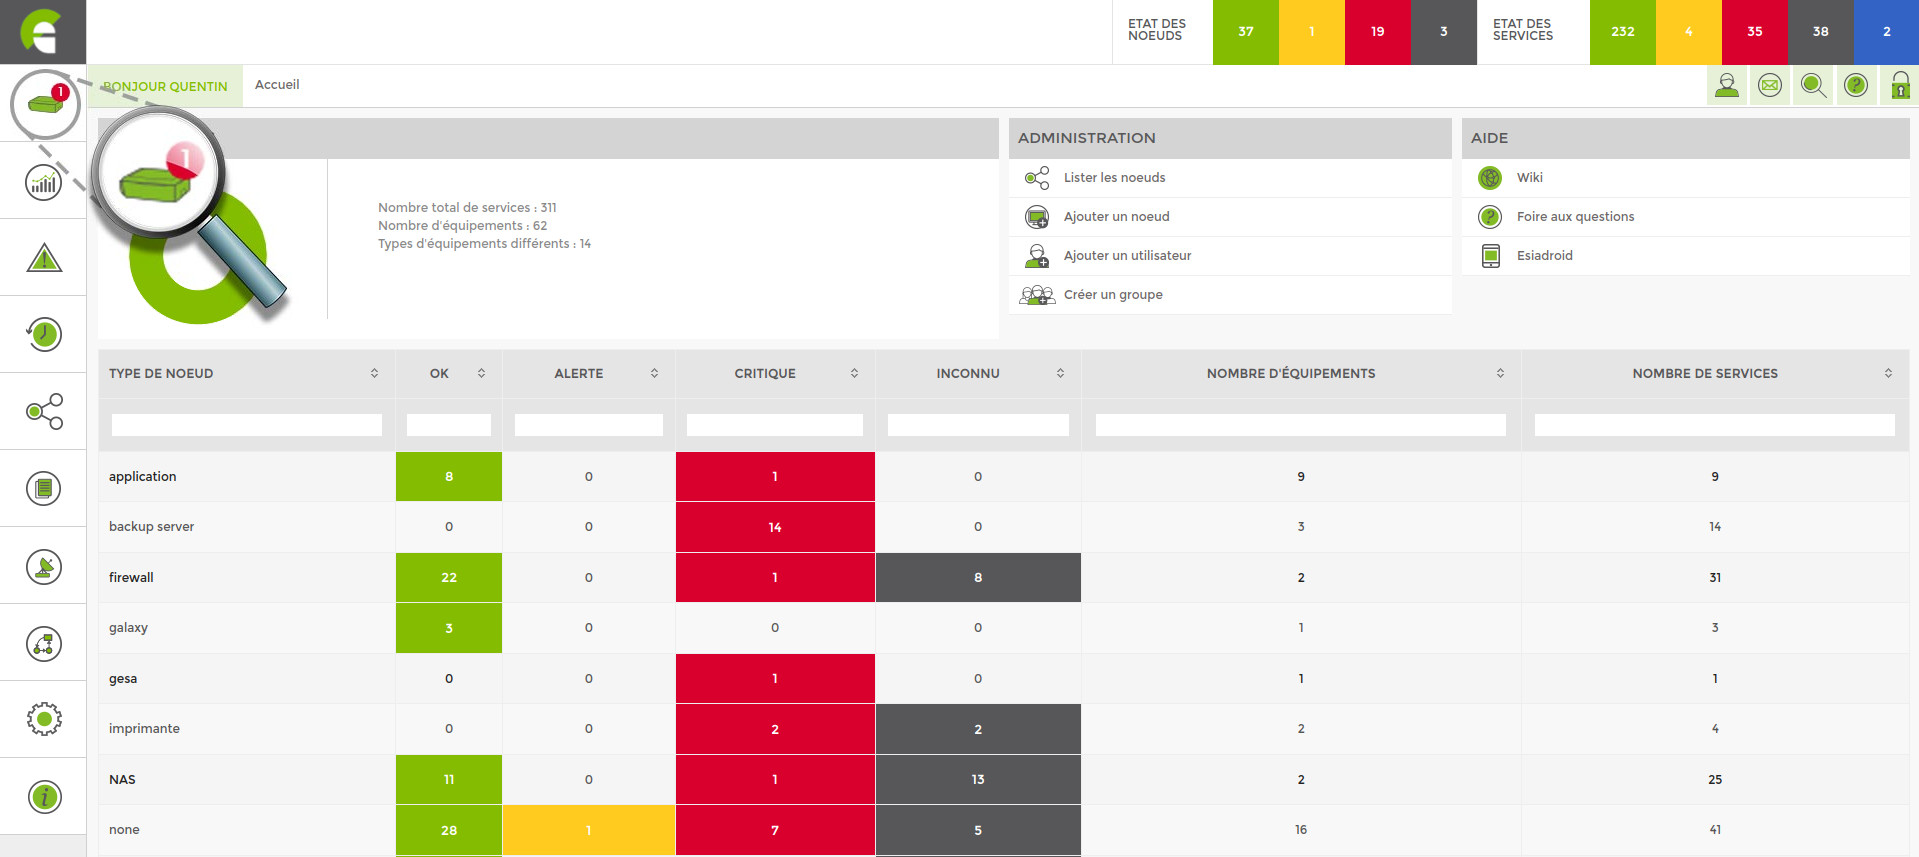
When adding a new Unity to Esia, a new icon appears at the top left.
Click on it to display the configuration page for this Unity.
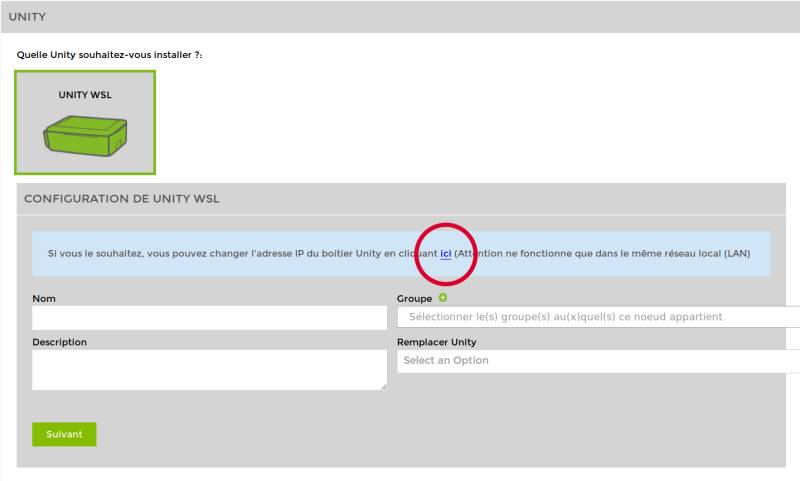
In the blue box, click on the “here” link.
This will take you directly to the Unity connection interface. Continue with Connect to the interface.
B. Connecting to the interface
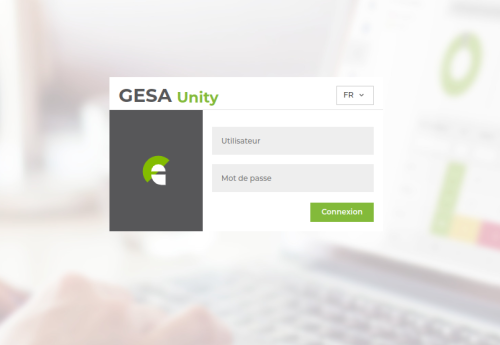
The login page should appear:
- The default user name is : esia
- Password is : gesa
Once you have logged in, go to the interface:
2. Configure the addressing parameters
Change the default settings to suit your network.
Static
- IP address: The local IP address of the Unity.
- Netmask: Subnet mask (e.g. CIDR /24)
- Gateway: The IP address of your internet gateway (your router: often 192.168.1.1).
- DNS1: DNS server IP (default: 8.8.8.8)
- DNS2: Alternative DNS if DNS1 cannot be reached
DHCP
- Tick the DNS box
- It is possible to enter several DNS by separating them with a “,”.
Ex: 10.50.0.230,10.5.0.231
(if you want to use a DNS other than the one provided by the DHCP server)
4. Configure your firewall
Ensure that ports 80, 2080 and 443 on the network where Unity is located are open for output (! without going through a proxy).
If you wish to restrict access to necessary URLs, here is the list of URLs that Unity must be able to contact. :
Ports 80 and 443 :
stable.repository.esia-sa.com
infogesa.esia-sa.com
infogesa.esia-network.com
ftp.debian.org
<URL du serveur Esia>
Port 2080 :
<URL du serveur Esia>
Port 53 :
myip.opendns.com
infogesa.esia-sa.com
infogesa.esia-network.com
