Table of Contents
Installing and configuring the IP Label web plugin
Installation
To install the IP-Label Web Plugin on your Galaxy and Infinity, simply type the following command lines:
- none
apt update
apt install esia-webp-iplabel
The Web Plugin is now installed and you can connect to your Esia interface.
Adding the node
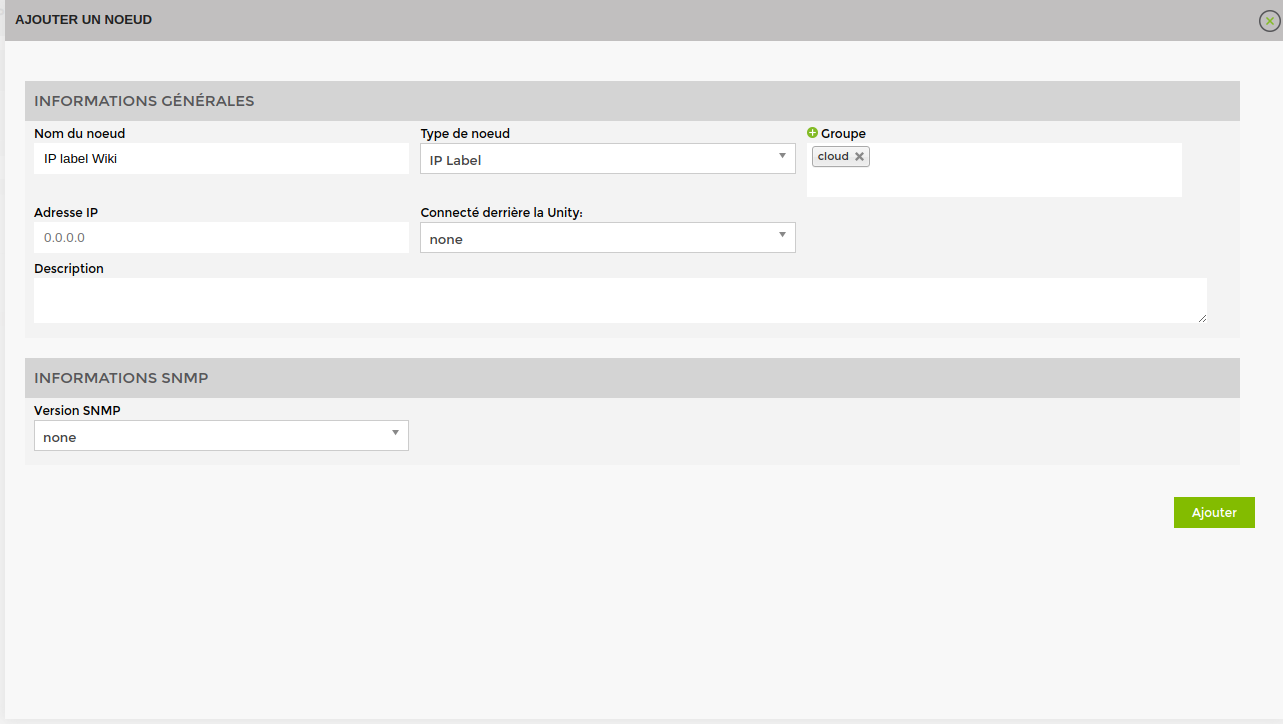
Go to administration and click on add node.
Enter the name, node group, etc. and, most importantly, specify the “IP Label” node type. Then click on add.
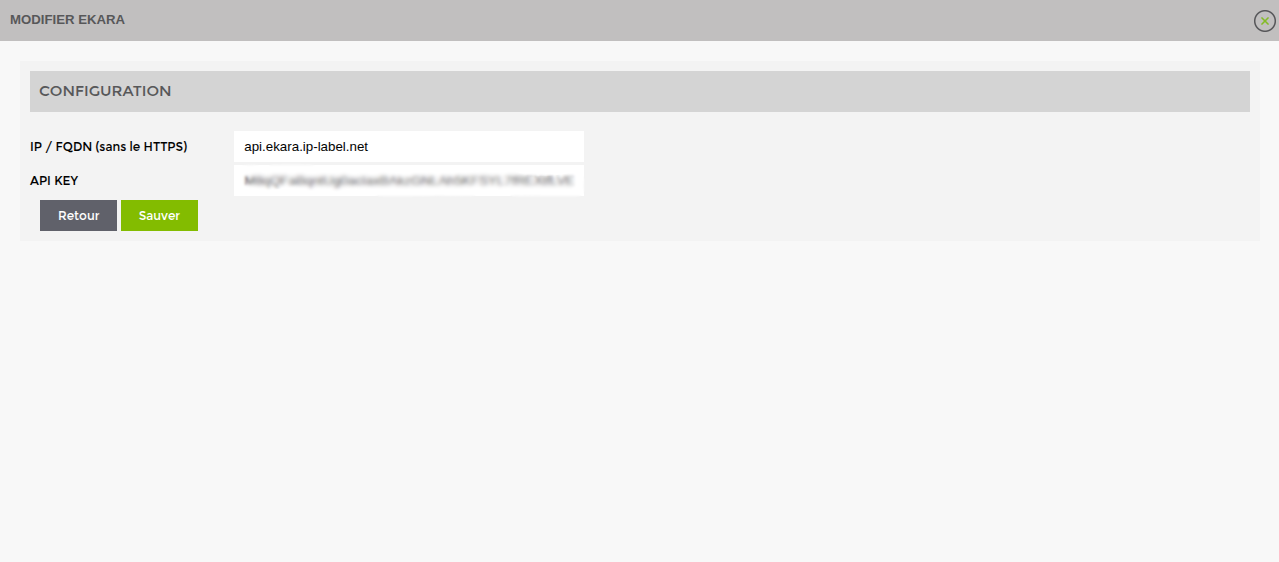
Now enter your server's connection details.
Click on “Save”, if all goes well the following message will appear.
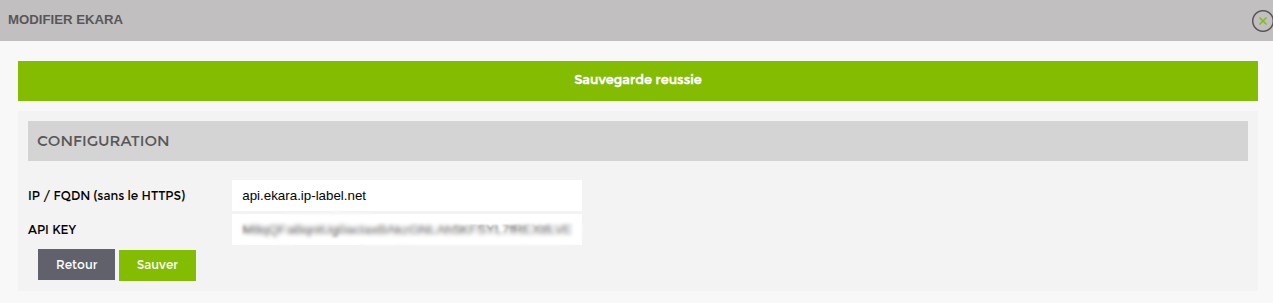
Your node is now added to Esia.
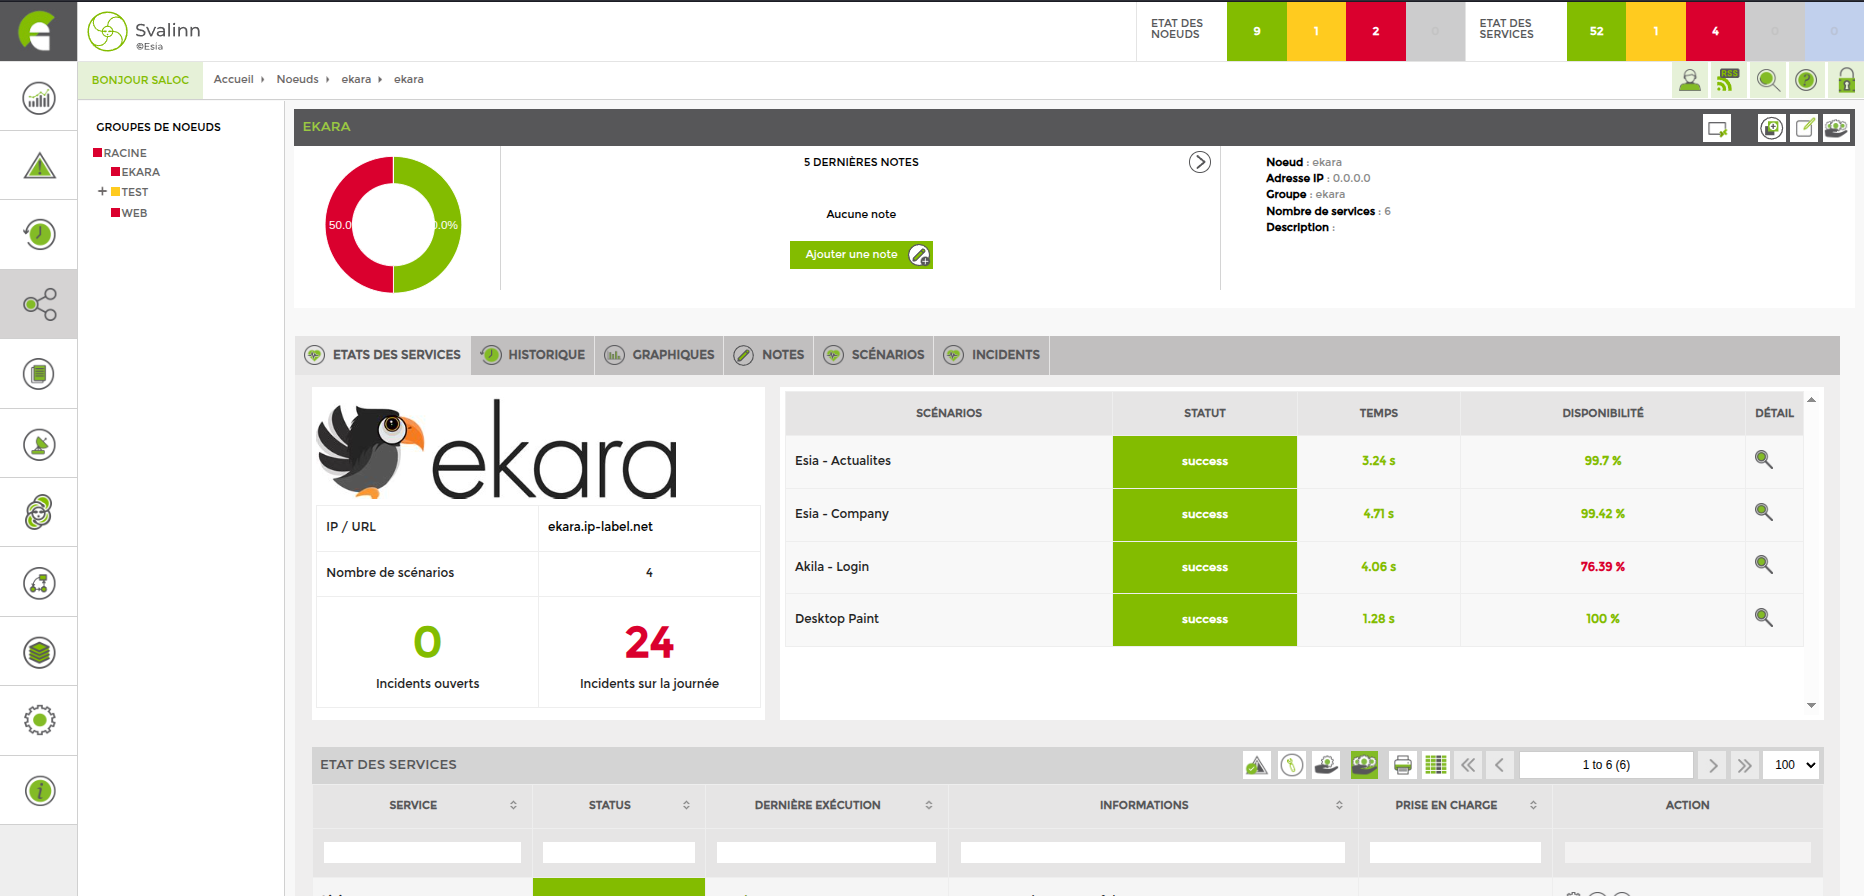
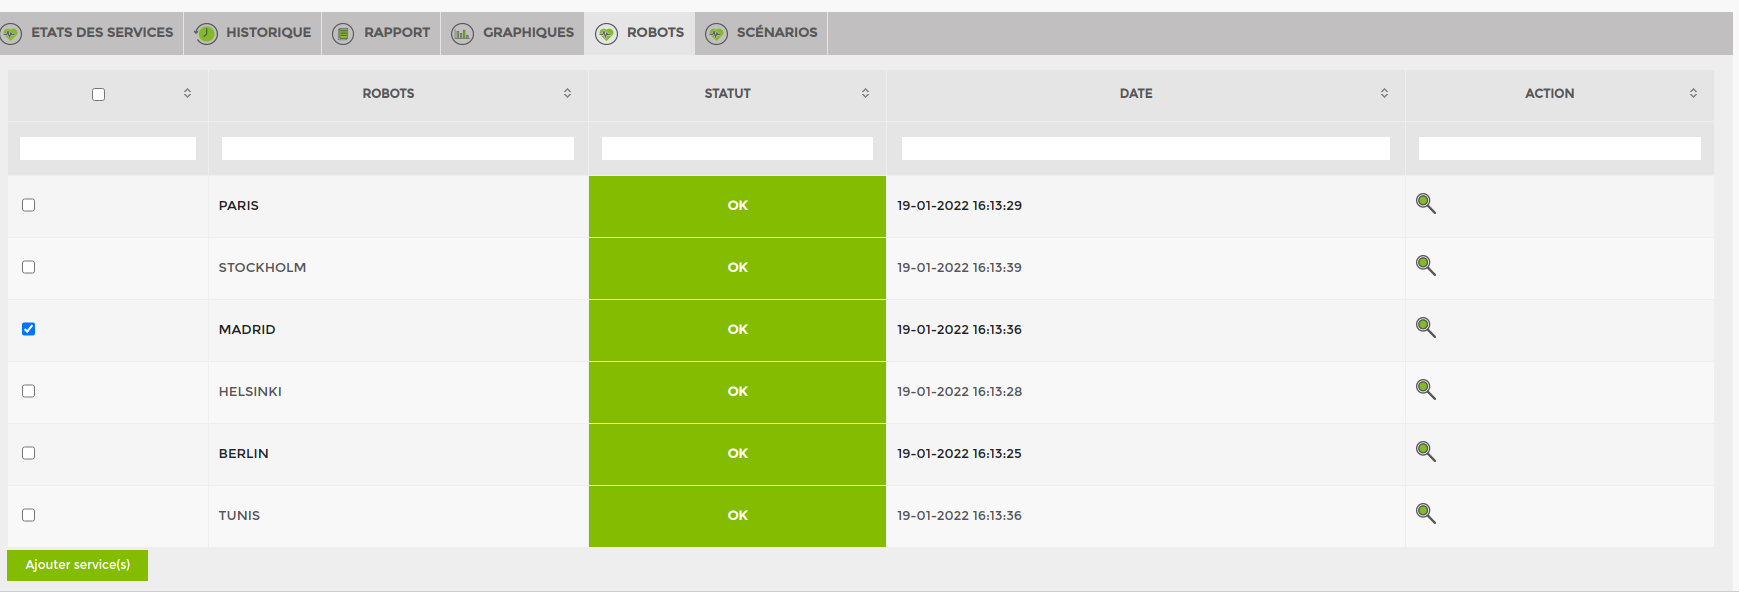
Supervision of a scenario
Go to the node's “control” page and click on the “scenarios” tab. Then select the one or ones you want. To finish, click on add at the bottom of the page.
en/interface/module_iplabel.txt · Last modified: by q.george