Table of Contents
Installing a Syslog server
Install an Esia Syslog storage server
Prerequisites
The Esia Syslog Server is installed on a VM/server independent of your Esia Mercury.
At MINIMUM (depending on the amount of log to be processed), a server or VM with:
- 4 cores (64 bits)
- 4 GB of RAM
- 100 GB of disk space
- 20 GB for the '/' root
- 5 GB for '/tmp
- 5 GB swap
- 70 GB for '/var' to suit your needs.
Debian 12 Bookworm 64-bit (amd64) Download
Add esia repot
To install Galaxy on your server, you need to add our repository to the list of trusted repositories on your server. To do this, simply enter the following commands.
- copy
echo "deb http://stable.repository.esia-sa.com/esia bookworm contrib non-free" >> /etc/apt/sources.list
wget -O- "http://stable.repository.esia-sa.com/esia/gnupg.key" | apt-key add -
Install & configure packages
Enter the following commands:
- copy
apt update
apt install -y postgresql
apt install -y esia-syslog-alarm
Once the download and unpacking is complete, the installation system will display the configuration of rsyslog-pgsql

Select “Yes” to continue with the configuration.
Select “localhost” to indicate that the database is local to the server.
Enter the database password
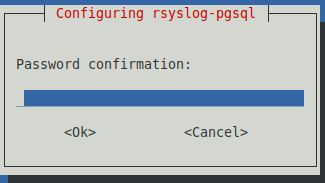
Confirm with the same password.

The system will finish configuring the bases and surrounding software.
If you want to receive asynchronous alarms from the syslog server. You need to add the IP of your Esia Mercury to the
- copy
/etc/esia/syslog-alarm.conf
in the “receiver” section. Check that port 2081 on your Esia server is open (iptables -L).
######################################
# ESIA configuration file #
# ESIA 3.0 #
# Biersart Nicolas #
# support@esia-sa.com #
######################################
[RECEIVER]
        port=2081
        key=2687b4e25ca52118ef03bfcdb31610a210b42202
        #IP OF YOUR ESIA SERVER
        ip=10.12.0.145
[CORE]
        thread_number=10
[DB]
        #postgresql connection chain
        connection_number=4
        PGSQL_host=localhost
        PGSQL_port=5432
        PGSQL_db=Syslog
        PGSQL_username=rsyslog
        PGSQL_pwd=syslog2022
[LOG]
        log_file=/var/log/esia/esiaSyslogAlarm.log
Configure Rsyslog
modify the rsyslog configuration file to allow incoming connections:
- copy
nano /etc/rsyslog.conf
Comment out the following lines
# provides UDP syslog reception
module(load="imudp")
input(type="imudp" port="514")

# provides TCP syslog reception
module(load="imtcp")
input(type="imtcp" port="514")
Below this configuration, add the following lines to make the log server as secure as possible.
- copy
$AllowedSender TCP, 127.0.0.1, <ip du réseau>/8
$AllowedSender UDP, 127.0.0.1, <ip du réseau>/8
restart the rsyslog service
- copy
/etc/init.d/rsyslog restart
Configure SNMP
SNMP is installed by default, so you now need to configure it. You need to edit the configuration file:
- copy
nano /etc/snmp/snmpd.conf
Change the following line (or add it as a comment):
agentAddress udp:127.0.0.1:161
And replace it with :
- copy
agentAddress udp:0.0.0.0:161
Next, you need to configure the SNMP community:
- copy
rocommunity read_community default
or rocommunity “ community name ” “ range ip (unique ip ) /subnet mask ”.
- copy
rocommunity read_community 10.7.0.14/32
WARNING, do not leave rocommunity with the default systemonly view (comment, delete or modify the following line):
- copy
# rocommunity public default -V systemonly
Then restart the SNMP service by typing :
- copy
/etc/init.d/snmpd restart
To prevent the agent to add a line every X minutes to your log file (each time the Esia server queries it), don't forget to make SNMP less verbose. Enter the following command:
- copy
systemctl edit snmpd
This will (among other things) create the file « /etc/systemd/system/snmpd.service.d/override.conf ». Add this code to the :
- copy
[Service]
ExecStart=
ExecStart=/usr/sbin/snmpd -LS4d -Lf /dev/null -u Debian-snmp -g Debian-snmp -I -smux,mteTrigger,mteTriggerConf -f
Then restart the SNMP service by typing :
- copy
service snmpd restart
On Debian Buster, if the service command does not exist, you can restart with this command:
- copy
systemctl restart snmpd
Conclusion
Your system is now ready to receive logs from other network nodes. We're now going to link it to the Esia server.
Install the link system on the Mercury
Install the packages
Install the following packages on your Esia Mercury server:
- copy
apt install -y esia-receiver esia-webp-syslog
Allow incoming connections
To enable the Syslog server to send alerts to your Esia server, you need to authorise connections on port 2801. Type the following command lines:
- copy
iptables -A INPUT -p tcp -m tcp --dport 2801 -s <ip serveur syslog>/32 -j ACCEPT
iptables-save > /etc/iptables.rules
Adding in the web interface
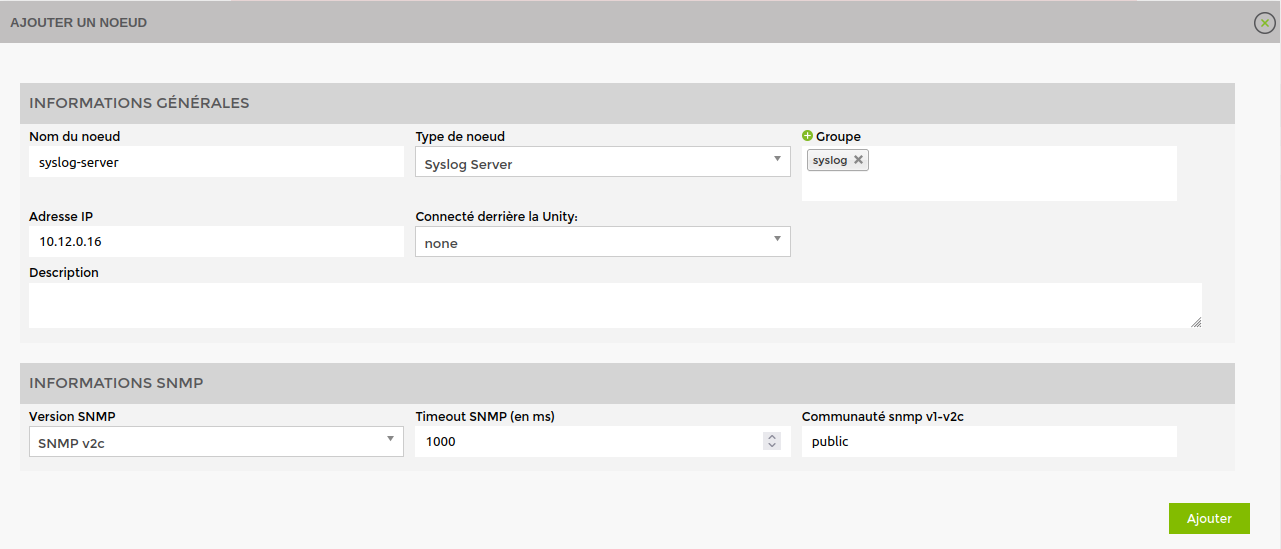
To add the syslog server to your Esia, go to Esia administration and then to « Ajouter Nœud ».
Fill in the fields, specifying the type of node, such as « Syslog Server ».
Don't forget the SNMP community.

Click on « Ajouter » and then the configuration system will ask you for the HTTP/HTTPS URL to the syslog, by default it takes the IP of your node.
Click on « Sauvez >If you click on >, ESIA will normally display the following message.
The default pattern « default_snmp_linux_server » pattern is applied as well as 2 services:
- CHECK_SYSLOG_AUTO_LINK
- MAN_SYSLOG_AUTO_LINK
The first checks that the hostnames received by the syslog server correspond to the node in ESIA. The 'MAN' plugin automatically links the two together.
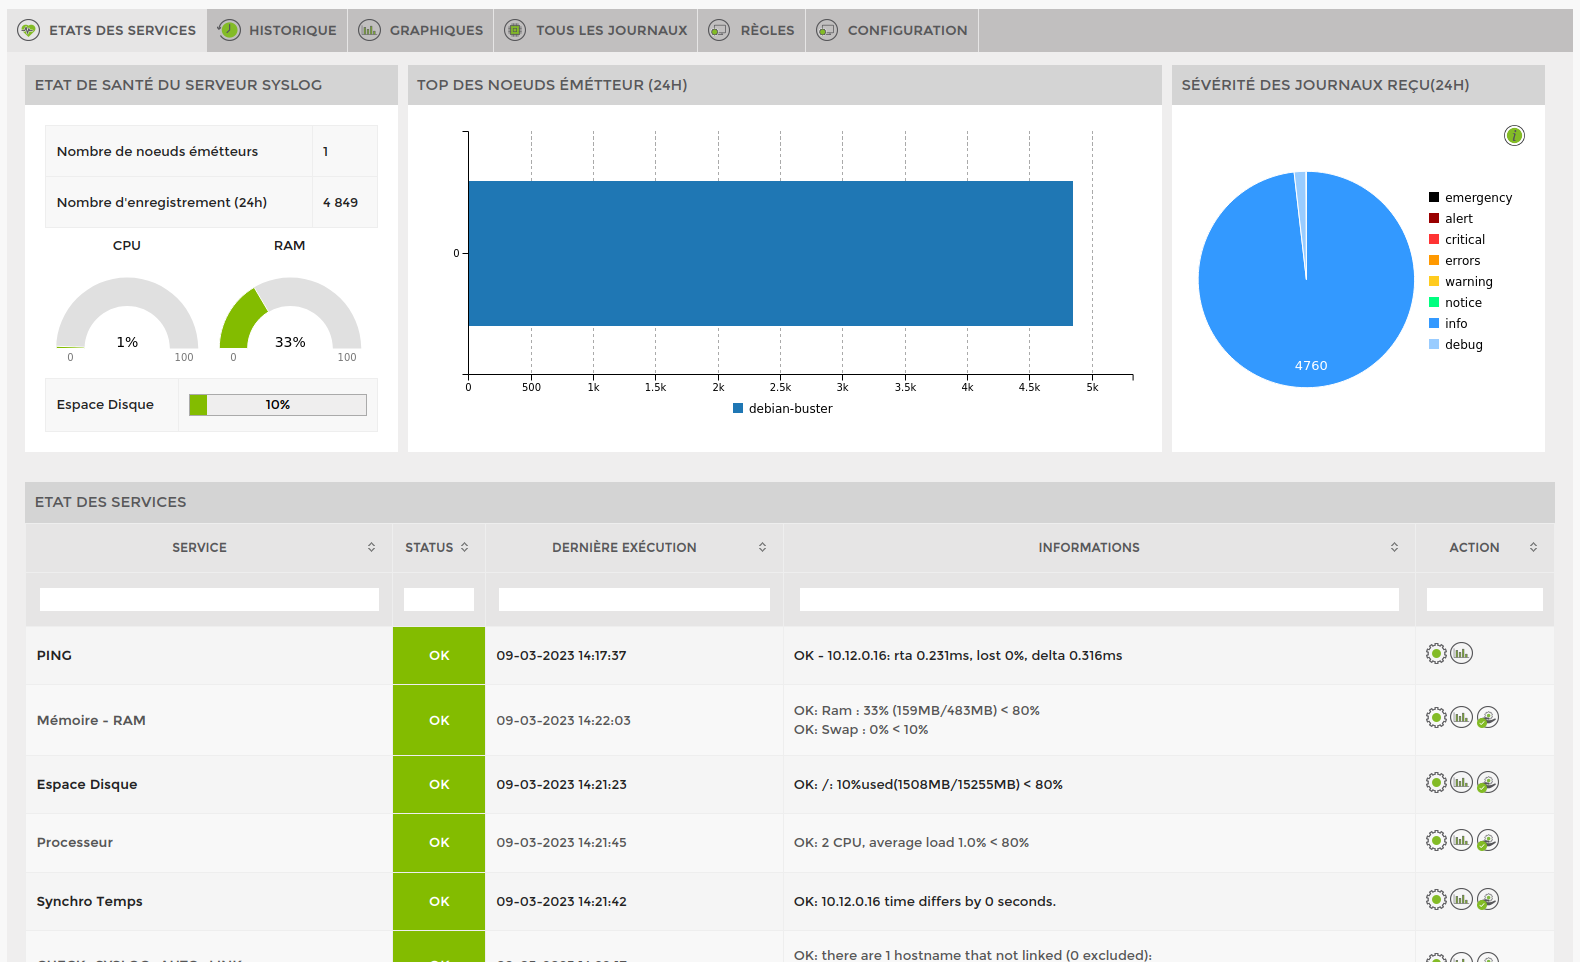
Your server is now added in ESIA and you can go to the node control page to see your log server.


