Table of Contents
Enable SNMP on Seagate NAS
Seagate Technology is an American company founded in 1979 that specialises in network storage solutions for businesses. In this article, we'll look at how to enable and configure the SNMP service on their NAS. Thanks to Seagate for the loan of a NAS 4 BAY Pro 16TB.
You can find out more about their range here: http://www.seagate.com/fr/fr/products/network-attached-storage/business-storage/
Enable SNMP
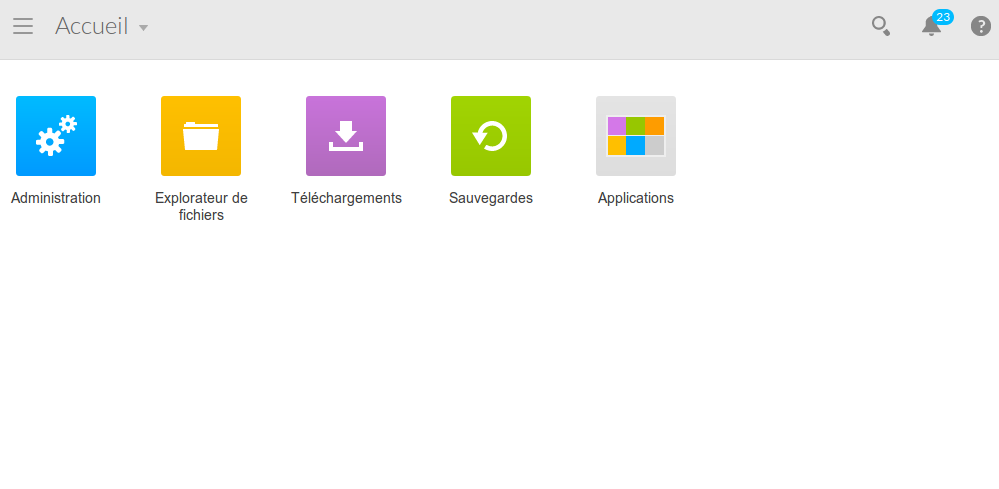
Open your browser and in the address bar, enter the IP address of your NAS then press “enter”. Once connected, you should see this:
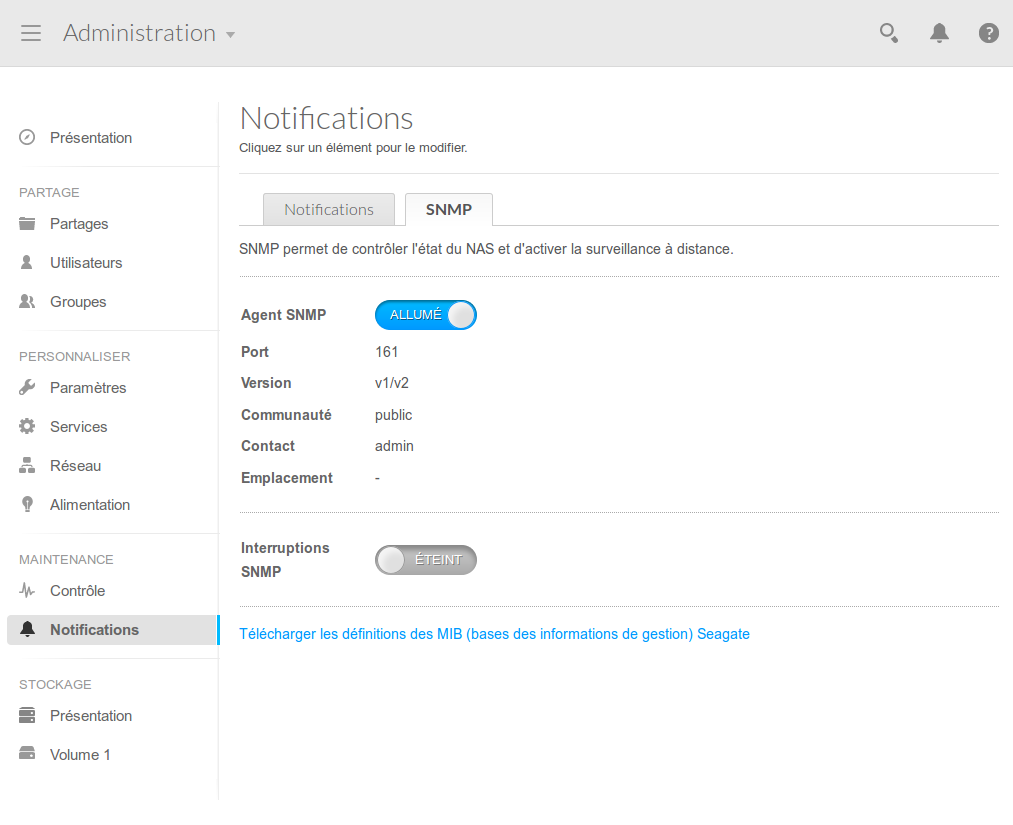
Then click on “Administration”. The configuration window will appear. Click on “Notifications” in the left-hand column.

In the SNMP tab, tick the “Enable SNMP service” box. Leave the version at V1/V2 and change the SNMP community if you wish. The changes will be applied automatically as soon as you click “Save”.
Monitoring options
Once the SNMP service has been activated, it is possible to retrieve: the general status via the GESA_SNMP_SEAGATE_HEALTH service (more information at)
- The model and its system name
- Disk status (model, capacity, smart status and temperature)
- Connection slot status
- RAID volume status
Storage space via the GESA_SNMP_LINUX_STORAGE service (more information at)
- Remaining disk space
- Used space
- Total space
- Type of partition
CPU load via the GESA_SNMP_LOAD service (more information at)
- CPU utilisation
RAM usage via the GESA_SNMP_LINUX_MEM service (more information)
Interface bandwidth via the GESA_SNMP_INTERFACE_EASY service (more information)
Network latency via the GESA_ICMP service (more information)
And many other tests depending on the use of your NAS (Web server, camera, etc).
For more information on Seagate NAS : See Seagate support.