Table of Contents
Enabling SNMP on Windows client (XP, Vista, 7, 10)
Installation
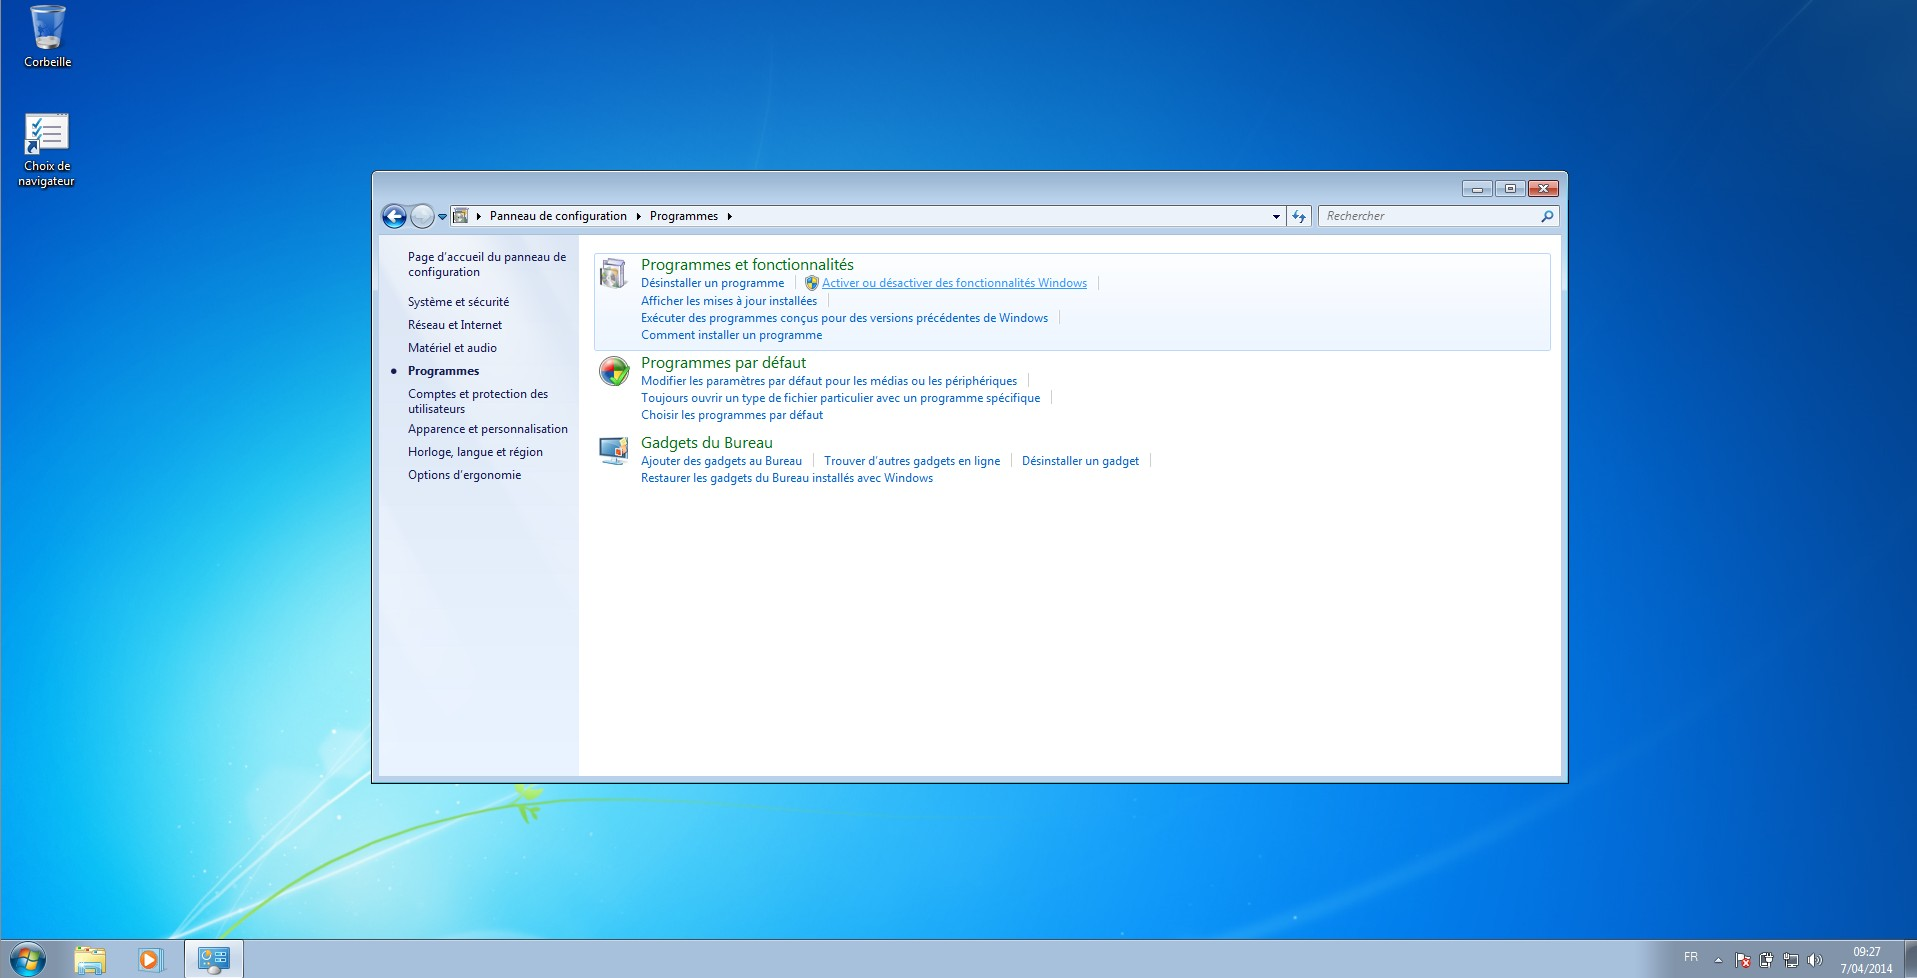
In the “Control Panel”, click on “Programs” and then on “Enable or disable Windows features”.
A drop-down list appears, and you need to tick the “SNMP (Simple Network Management Protocol)” box, as well as the “SNMP WMI Provider” sub-box.
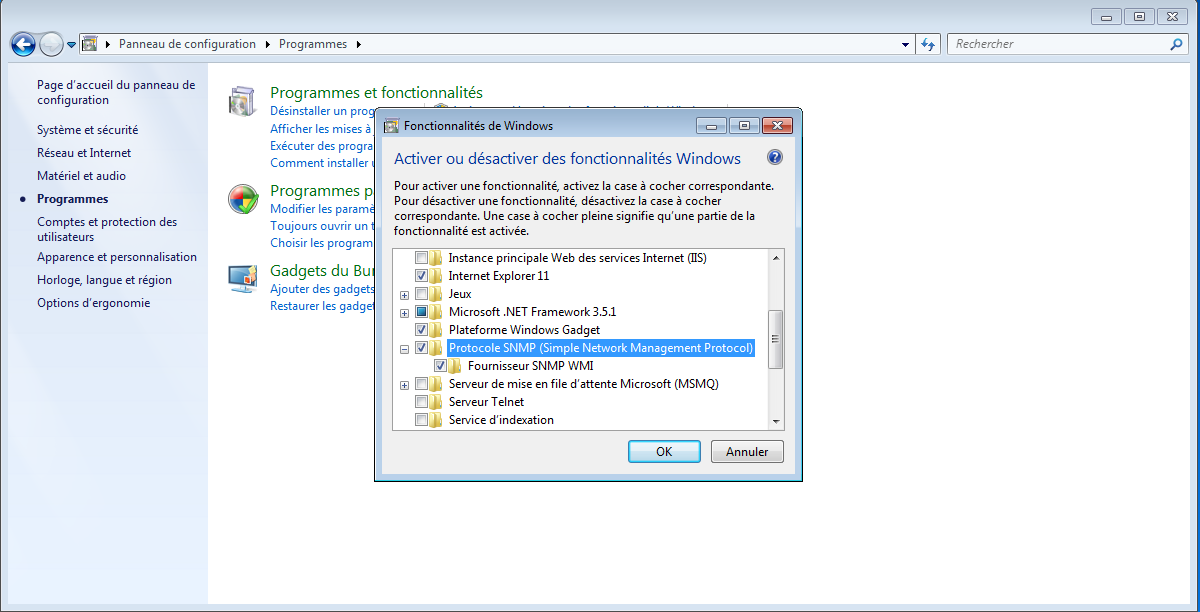
Click OK, and the service will be installed.
Configuration
Once the service has been installed, click Start. In the Windows search bar, type “service.msc” then click enter.
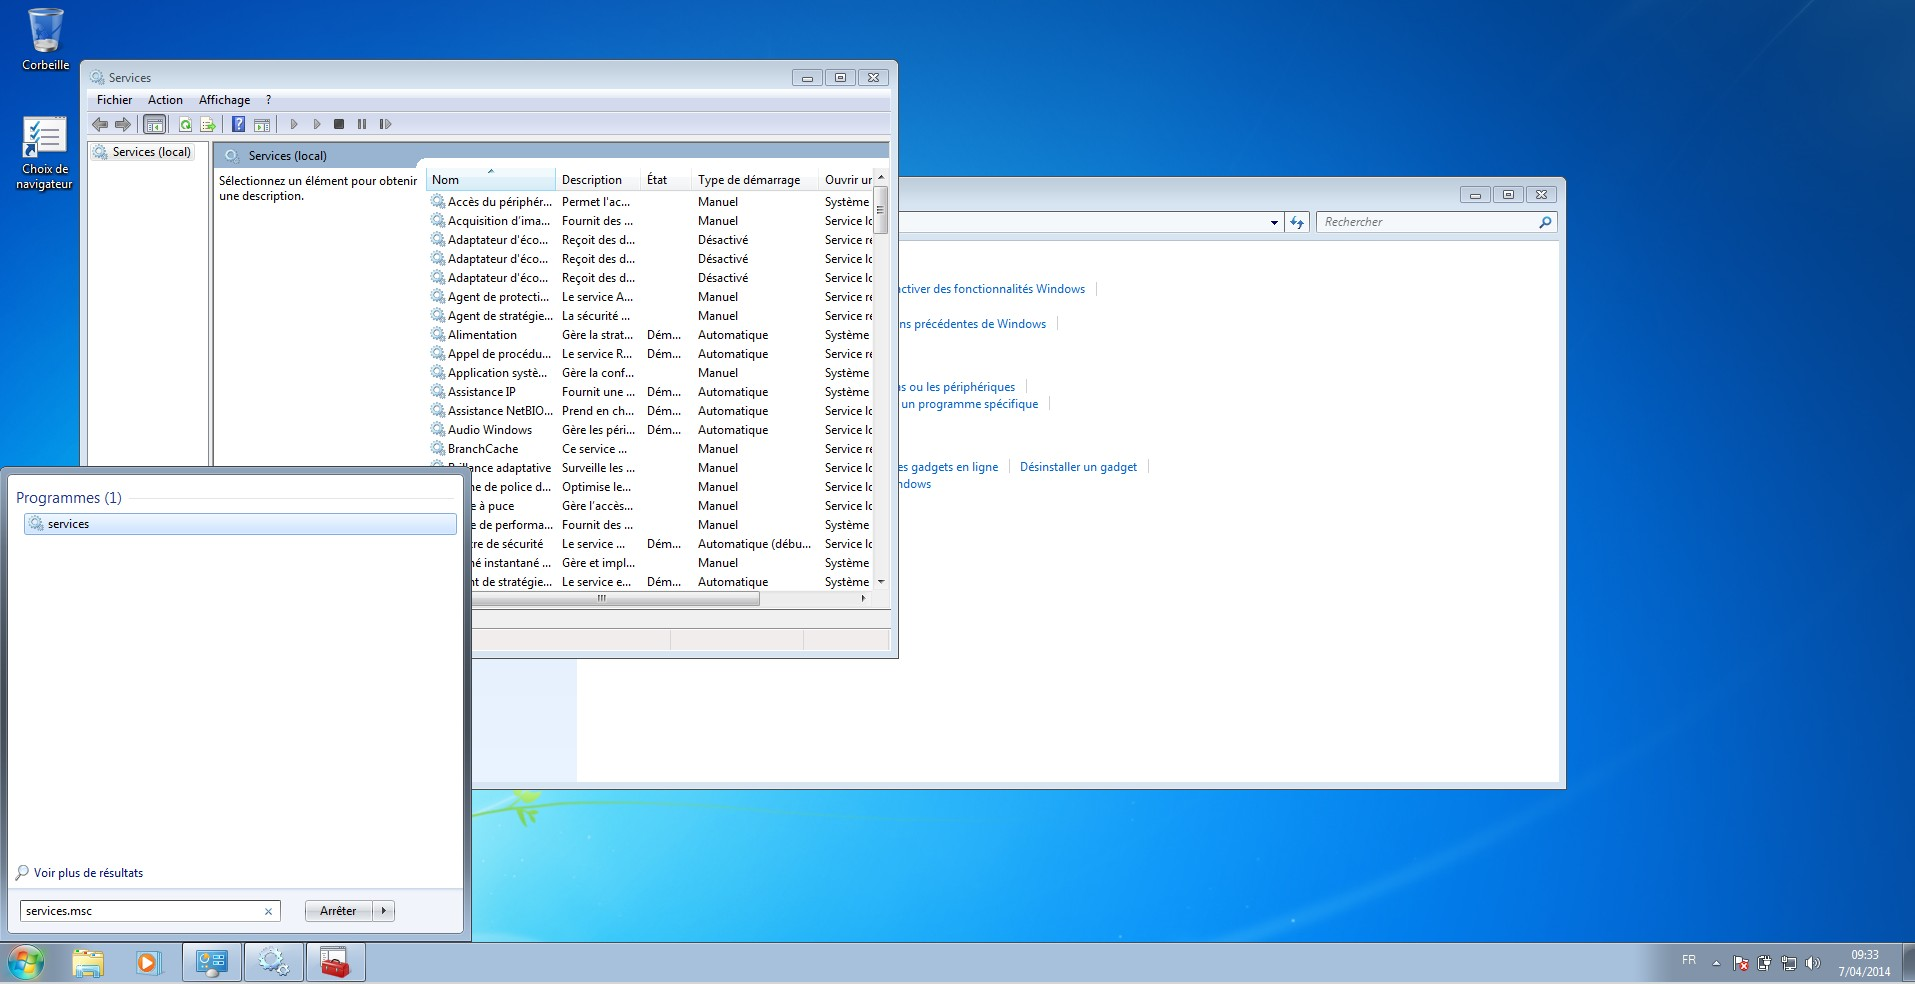
In the window that has just appeared, right-click on “SNMP Service” then click on properties. The SNMP configuration window should appear.
In the security tab, add the SNMP community (for example: public read-only). Then add the IP address of the host authorised to connect.

Finally, go to the “agent” tab and tick all the “Services” boxes. You can also add a contact or a location if you wish.
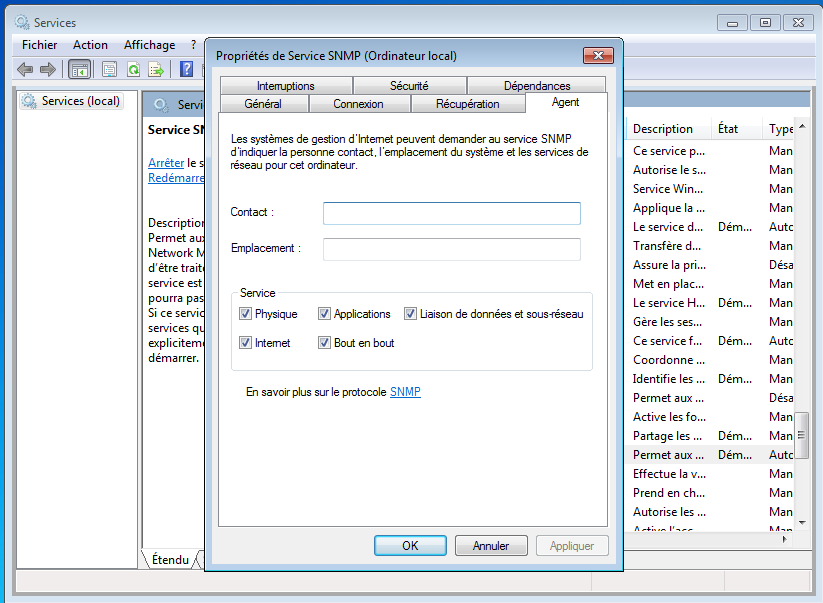
Click OK and restart the service. SNMP is now enabled on the machine.