Table of Contents
Dashboards
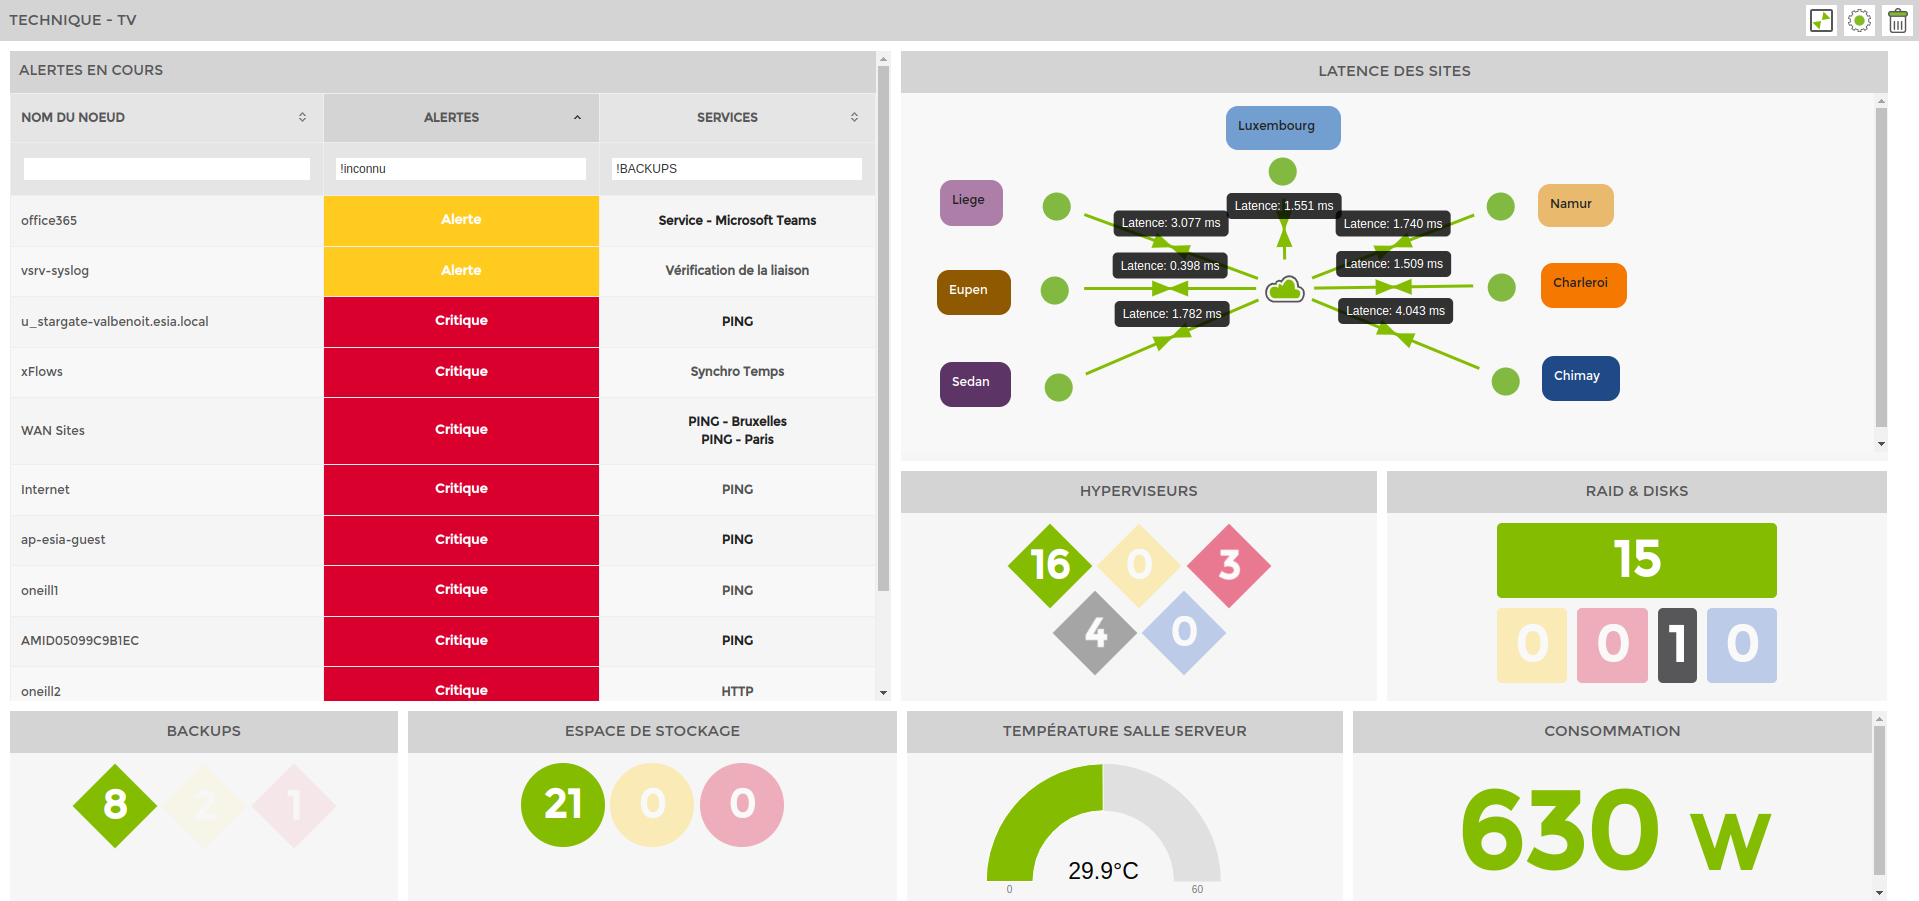
ESIA lets you create as many customised dashboards as you like. The aim here is to highlight the points of importance relative to each user. You create a tile, size it and integrate the information that is of interest to you. A tile can contain one or more widgets. To find out more about widgets, please consult the list of widgets.
Add a dashboard
Go to the “My Dashboards“tab and click on “Add dashboard”.

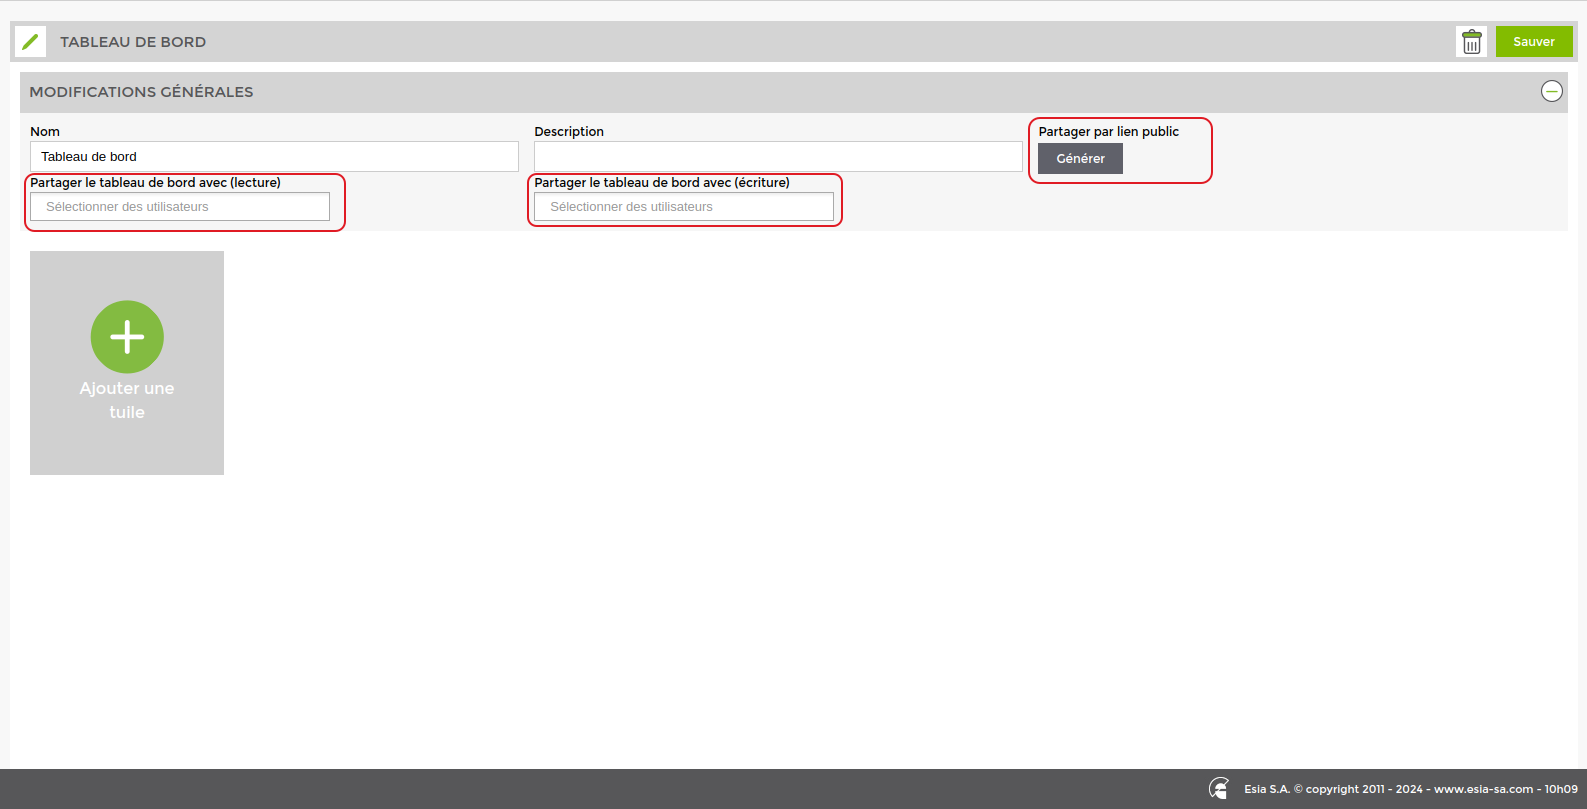
You will arrive on the following page:
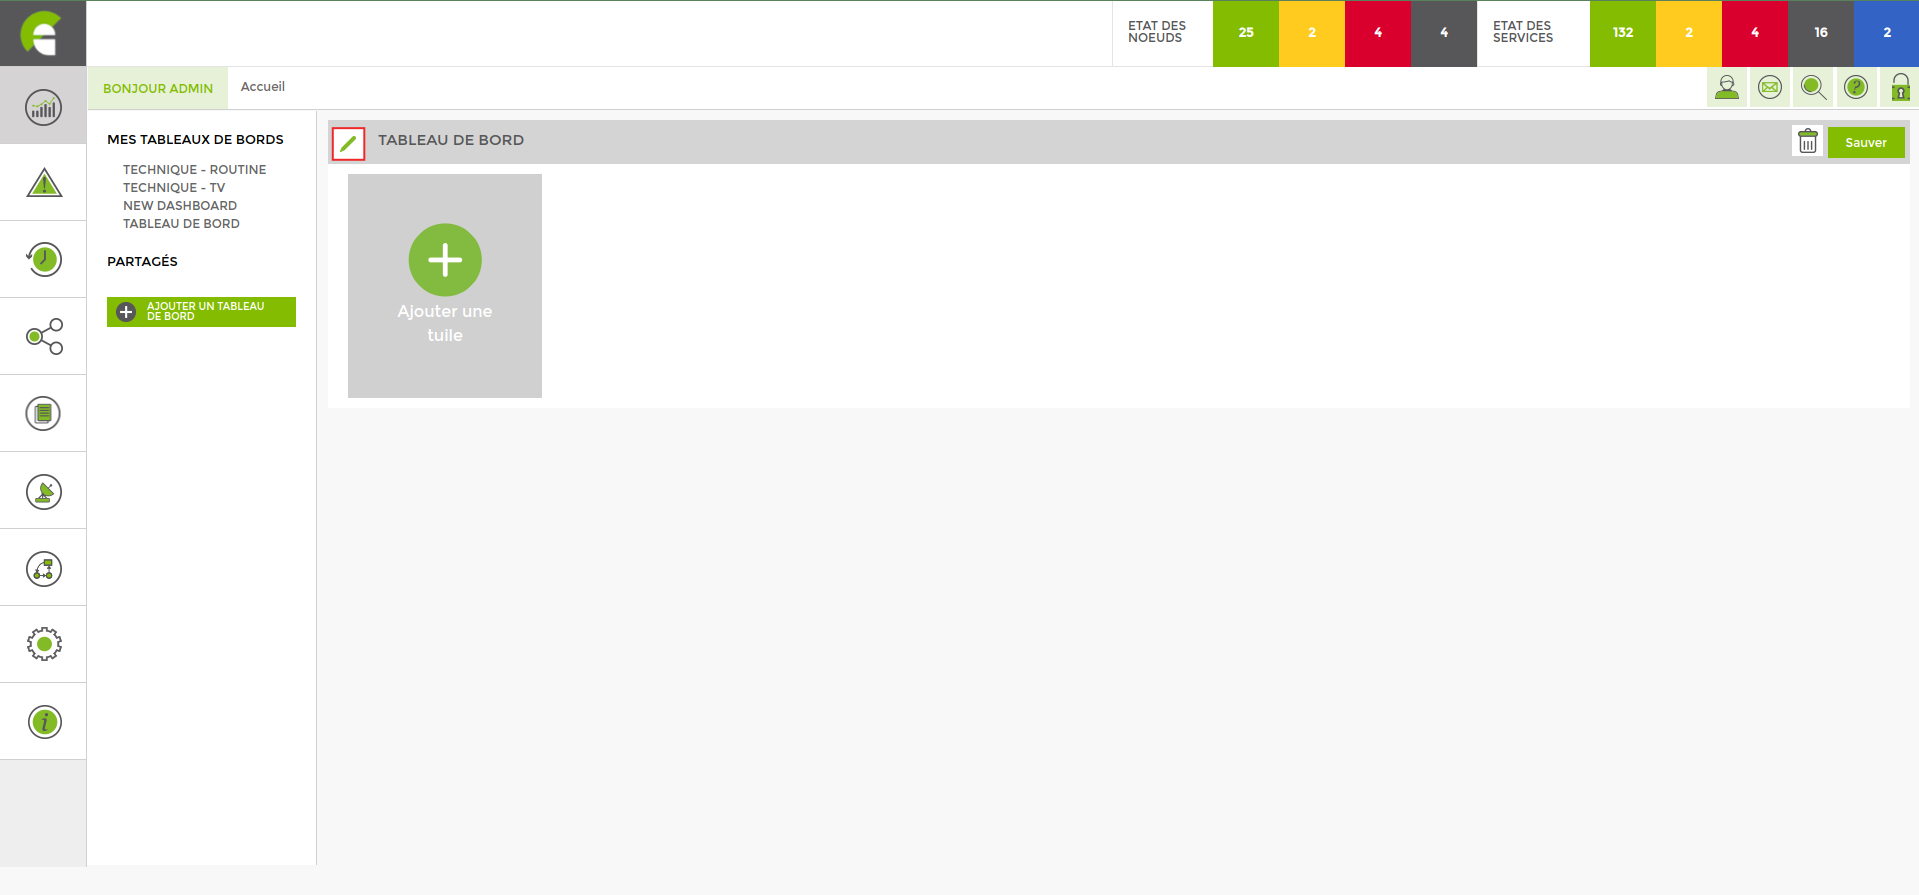
You can rename the dashboard by clicking on the icon  , but you can also give it a description and share it with other users in read and/or write and generate a public link.

Click on “add a tile“then on the  to configure your tile as shown below.
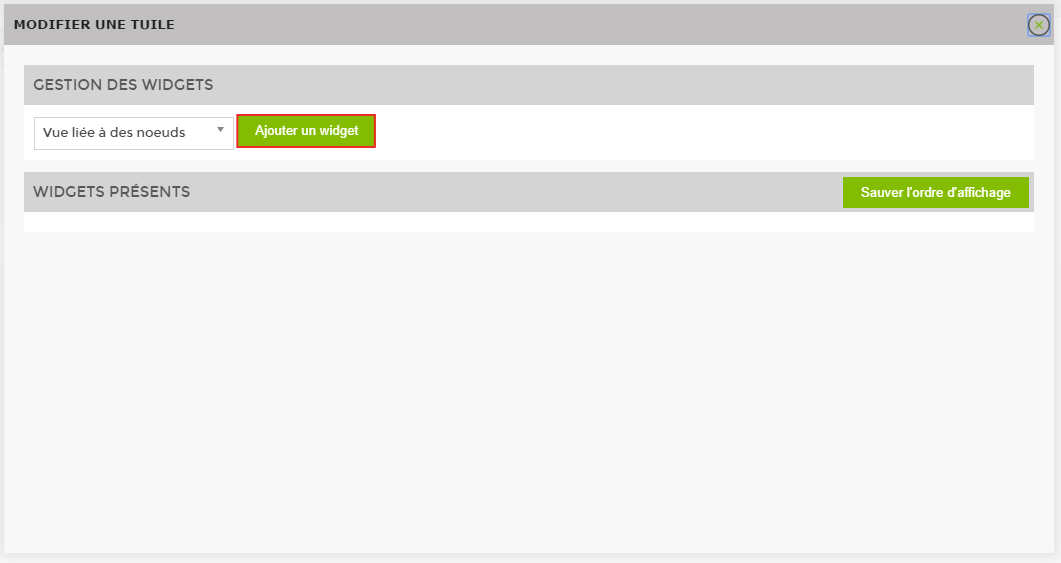
This takes you to the menu for modifying a tile. Tiles allow you to display widgets that bring up information about your nodes in a graphical and easy-to-understand way.
Adding widgets
Once in the tile modification menu, choose the type of widget you want to add, then click on the widget that appears just below it.
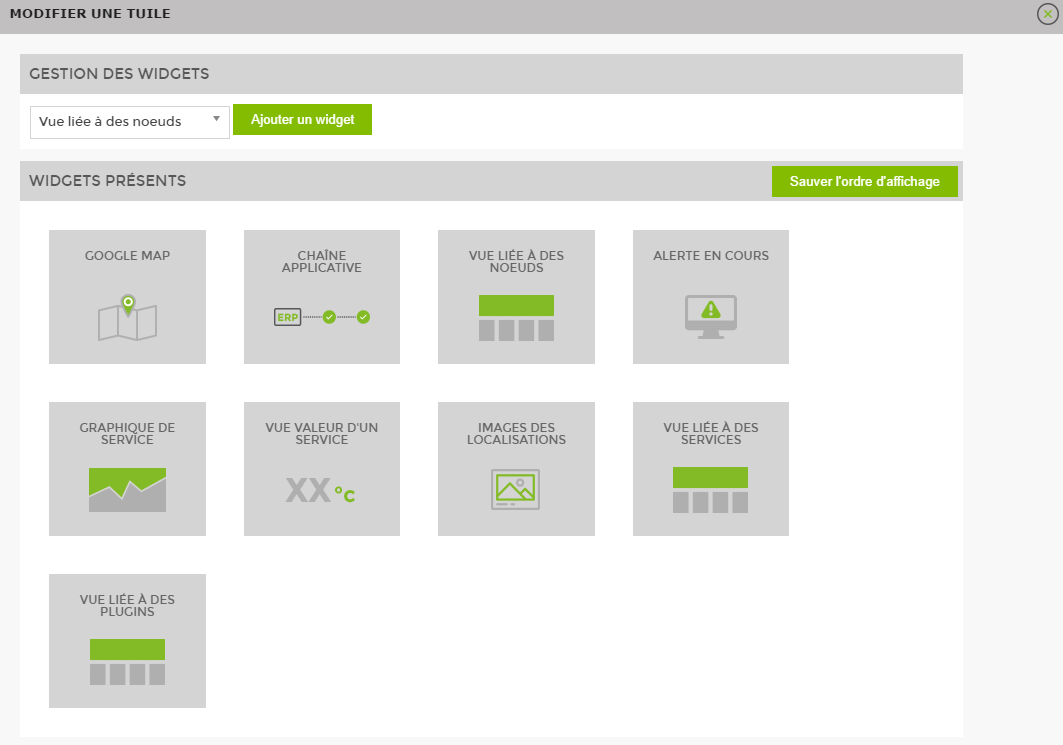
To find out how to set up your widgets, go to the page widgets.
You can integrate several widgets into a single tile. This will cause the widgets to scroll one by one every 30 seconds (times can be set).
You can now save and return to the initial page of your dashboard. You're free to add as many tiles as you like. You can adjust the size of the tiles dynamically by left-clicking on the next part of the tile:

Share a dashboard
You can share a dashboard by :
- Reading
- Reading and writing
- Public
In public
Before a dashboard can be shared publicly, a user must be present in the “default_read_access” You can generate a full-screen sharing link and only give access to the dashboard.

Click on “generate”