Table of Contents
Installing an Esia Lite server
Installation
Prerequisites
To MINIMUM (depending on the number of services), a server or VM with :
- 4 cores (64 bits)
- 4 GB RAM
- 30 GB of disk space
Debian 12 Bookworm 64-bit (amd64) Download
Here is the link for the step-by-step installation of Debian. When selecting software, I advise you to uncheck everything except 'SSH server'.
Adding the esia repot
To install Esia on your server, you need to add our repository to the list of trusted repositories on your server. To do this, simply enter the following commands.
- copy
echo "deb http://lite.repository.esia-sa.com/esia bookworm contrib non-free" >> /etc/apt/sources.list
wget -O- "http://lite.repository.esia-sa.com/esia/gnupg.key" | apt-key add -
Install packages
Enter the following commands:
- copy
apt-get update
apt-get install esia-lite-base -y
For remote access to your Esia
Via Windows
- via ssh cmd
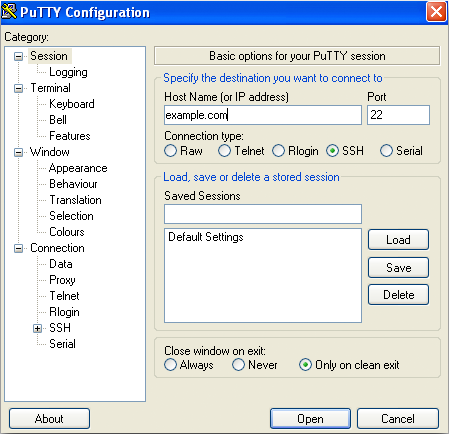
Example on PuTTy Telechargeable here. Once it has been installed and launched, follow the steps below:
- In the Host Name (or IP address) field, enter the IP address of your Esia server.
- In the Port field, enter 22 if it is not already entered.
- Check SSH.
- Click Open.
The login and password to be entered are those entered for the user created when you installed your Debian 12 bookworm.
Via Mac or GNU/Linux
Open a command line terminal
$USERNAME corresponding to the user login and $IP the IP address of your VM.
Example:
elessar@bookworm ~ $ ssh esiauser@10.12.0.203

The authenticity of host '10.12.0.203 (10.12.0.203)' can't be established.
ECDSA key fingerprint is SHA256:vB+p7UwKmXbdrQDctldkEI5sJIFqz4TdbAK4j8jyqJ4.
Are you sure you want to continue connecting (yes/no)? yes
Warning: Permanently added '10.12.0.203' (ECDSA) to the list of known hosts.
esiauser@10.12.0.203's password:

The programs included with the Debian GNU/Linux system are free software;
the exact distribution terms for each program are described in the
individual files in /usr/share/doc/*/copyright.

Debian GNU/Linux comes with ABSOLUTELY NO WARRANTY, to the extent
permitted by applicable law.

***** Welcome to Esia Lite !!! *****

With root permissions. You can configure your server with command "esia-configure".

* Network with esia-configure -S net
* Users with esia-configure -S user
* Alerting mail with esia-configure -S mail

For example for a first setup :

* esia-configure -S user -A add -u lite -e jdoe@example.com -P
* esia-configure -S mail -u alert@example.com -P -r smtp.mail.example.com:465
* esia-configure -S net -M static -i eth1 -a 10.12.0.201 -m 255.255.255.0 -g 10.12.0.254 -n 8.8.8.8

For more help, you can :

* run esia-configuration --help
* visit page http://wiki.esia-sa.com
* send mail to support@esia-sa.com
* call +32 (0) 42 87 75 80 or +33 (01) 86 95 80 41

esiauser@debian-bookwoorm:~$
Get root(s) rights
Depending on the configuration of your Debian system :
Using su :
esiauser@debian-buster:~$ su -
Password:
root@debian-bookworm:/home/esiauser#
Using sudo :
esiauser@debian-buster:~$ sudo -i
Password:
root@debian-bookworm:/home/esiauser#
Note that the password is different depending on the user:
- With su, the password is that of the 'root' user.
- With sudo, the password is that of the current user (esiauser in my example).
First configuration
The command esia-configure command on your Esia to perform the configuration operations required for your server to function correctly. This command allows you to :
- Create and manage future administrators (root group in the interface) of your esia.
- Configure your network interface.
- configure an SMTP server to send alerting emails.
Users managed by esia-configure are those who will be able to access the Esia web interface. To configure Debian users (SSH connection for example). Use the basic GNU/Linux commands:
- change the root password :
passwd - change the user password (user with esiauser login)
passwd esiauser
This tutorial explains the main uses ofesia-configure. For more advanced use, see the :
- copy
esia-configure --help
Creating the first user IDs
The options are :
- S user (Section) to specify that you wish to act on the user section
- A add (Action add) to specify that you want to add a user
- u $LOGIN (User) replace $LOGIN with the desired user.
- e $EMAIL (Email) replace $EMAIL with the email address of the desired user.
- P (Prompt password) to enter the user password securely. (The -p $PASS option, used in certain cases, will keep the password in the history of commands entered).
root@debian-bookwoorm:/# esia-configure -S user -A add -u jdoe -e jdoe@example.com -P
Password:
Confirm password:
Do you want to add user jdoe,jdoe@example.com with root permissions
Do you wish to apply this ? (y,n) y
root@debian-bookwoorm:/#
First connection to your WEB interface
Now that everything is installed, you can connect to the Esia web interface and start integrating your nodes. If you don't know your IP, you can type the following command:
root@debian-bookwoorm:/# ip a
1: lo: <LOOPBACK,UP,LOWER_UP> mtu 65536 qdisc noqueue state UNKNOWN group default qlen 1000
    link/loopback 00:00:00:00:00:00 brd 00:00:00:00:00:00
    inet 127.0.0.1/8 scope host lo
       valid_lft forever preferred_lft forever
    inet6 ::1/128 scope host noprefixroute
       valid_lft forever preferred_lft forever
2: ens18: <BROADCAST,MULTICAST,UP,LOWER_UP> mtu 1500 qdisc fq_codel state UP group default qlen 1000
    link/ether c2:72:72:cb:b1:7b brd ff:ff:ff:ff:ff:ff
    altname enp0s18
    inet 10.5.0.148/24 brd 10.5.0.255 scope global ens18
       valid_lft forever preferred_lft forever
    inet6 fe80::c072:72ff:fecb:b17b/64 scope link
       valid_lft forever preferred_lft forever

root@debian-bookwoorm:/#
If you want to memorise this command, think of an advert for a famous Swedish furniture brand or a type of beer 
You can now go to the url
https://<your ip>
In my case, it's 10.5.0.148 (https://10.5.0.148 ). Accept the certificate and you're on your ESIA.
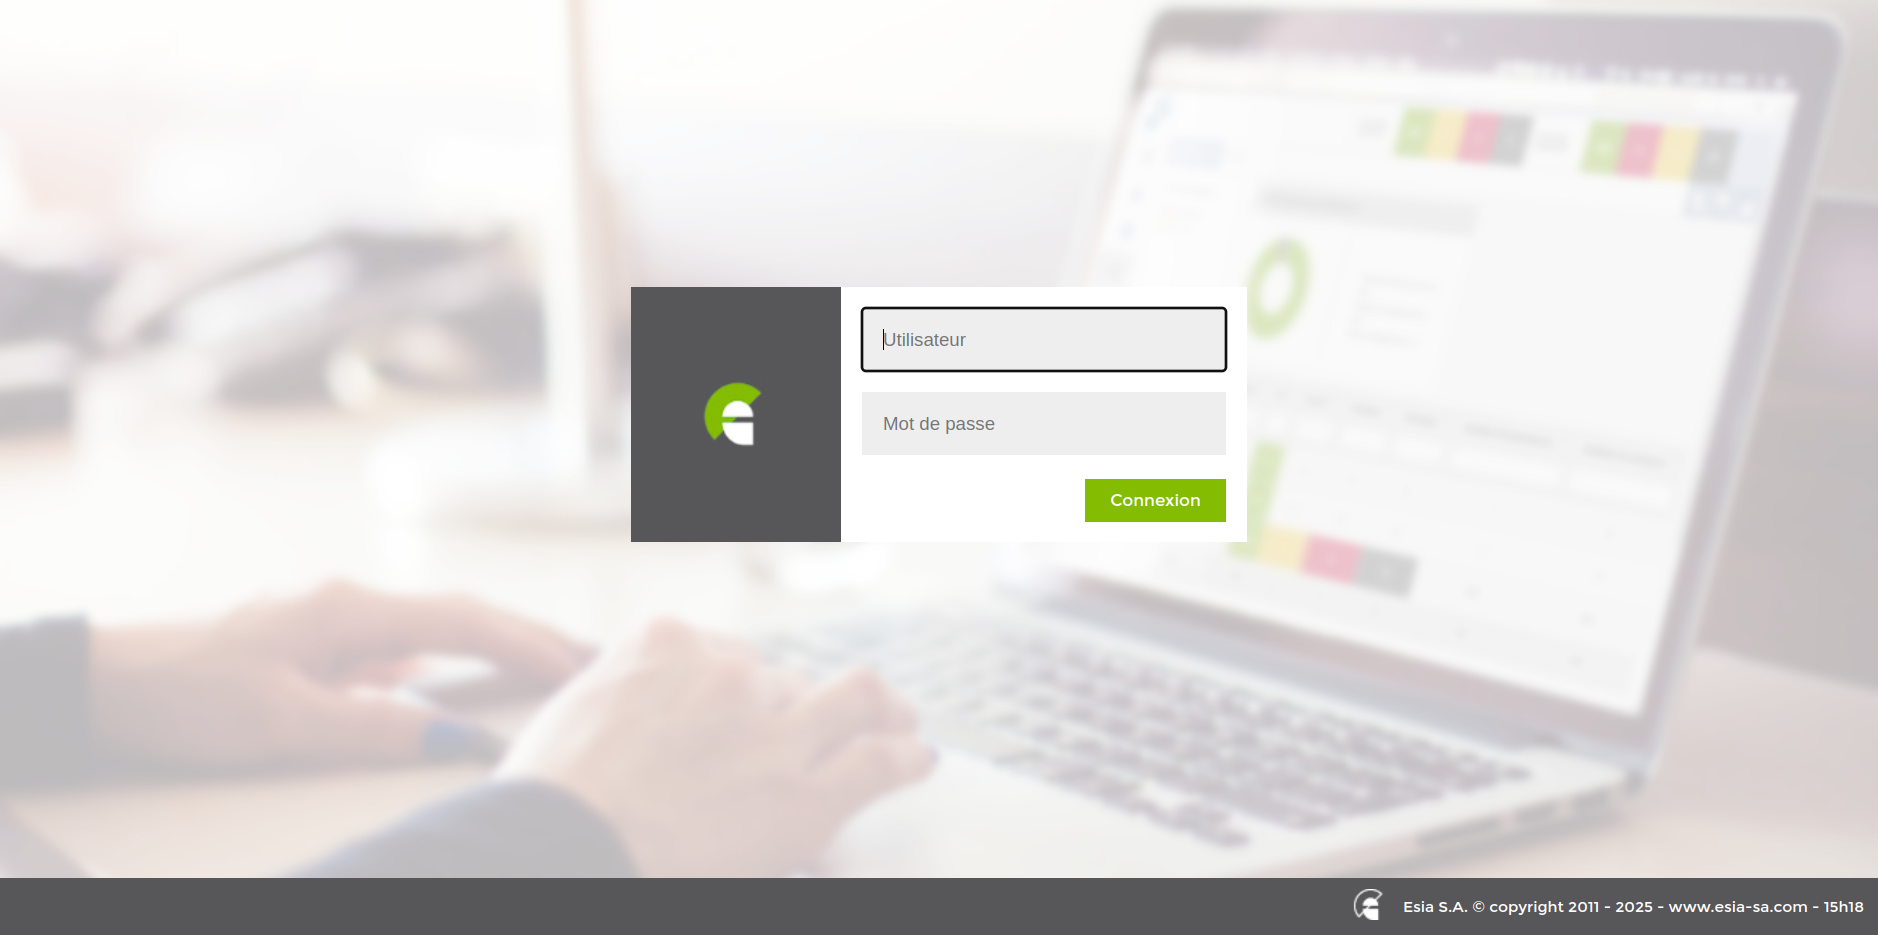
Enter your login and your password defined above and you are connected.
You can now configure the server to send emails or start deploying by clicking on this link Scan a network
Configuring the email alerting system
Avant de commencer, vous avez besoin d'un serveur mail SMTP capable de relayer les mails générés par votre serveur Esia. Ce serveur de mail doit bien sur être joignable par celui-ci. Pour accéder à ce serveur de mail, le serveur Esia devra connaître :
- l'adresse mail que le serveur Esia utilisera pour envoyer ces emails. (Exemple : no-reply@example.com ou alert@example.com)
- l'IP ou le nom de domaine de votre serveur de mail de relai.
- le port SMTP utilisé (25, 465, …).
- un login d'authentification si nécessaire.
- le mot de passe correspondant au login si nécessaire.
La syntaxe de la commande est :
- copy
esia-configure -S mail -f $EMAIL -r $HOST:$PORT -u $LOGIN -P
Tous les paramètres ne sont pas obligatoires. Ils correspondent à :
- -S mail (Section) afin de spécifier qu'on souhaite agir sur la section des mails
- -f $EMAIL (From) remplacez $EMAIL par l'adresse email attribuée au serveur (Exemple : no-reply@example.com)
- -r $HOST:PORT (Relayhost) remplacez $HOST par l'url de votre serveur mail (smtp.example.com) et $PORT par le port (25,465, …)
- -u $LOGIN (User) remplacez $LOGIN par l'utilisateur souhaité.
- -P (Prompt password) pour saisir le mot de passe utilisateur de façon sécurisée. (L'option -p $PASS, utilise dans certains cas, gardera le mot de passe dans l'historique des commandes saisies)
Exemple :
root@debian-buster:/# esia-configure -S mail -f alert@example.com -r smtp.example.com:465 -u alert -P
Password:
Confirm password:
This settings will be set :

From  changed => alert@example.com
Relayhost : => smtp.example.com:465
User  changed => alert
Pass changed

Do you wish to apply this ? (y,n) y
root@debian-buster:/#
Tester maintenant votre connexion SMTP Test de l’envoi des emails.
Server network configuration
Always use the command esia-configure.
The possible syntaxes are :
esia-configure -S net -M static -i $IFACE -a $IP -m $MASK -g $ROUTER -n $DNS1,$DNS2
esia-configure -S net -M static -i $IFACE -a $IP -m $MASK
esia-configure -S net -M static -i $IFACE -g $ROUTER
esia-configure -S net -n $DNS1,$DNS2
The parameters are :
- S net (Section) to specify that you want to act on the net section.
- M static|dhcp (Mode) to specify whether the interface is to be configured as static or dhcp.
- i $IFACE (Interface) network interface to configure (eth0, …).
- a $IP (Address) is the IP address assigned to the network interface.
- m $MASK (Mask) is the subnet mask corresponding to the IP address (255.255.255.0, …).
- g $ROUTER (Gateway) is the gateway or router used to exit the network.
- n $DNS1,$DNS2 (Nameservers) is the dns server(s) to be used. (List separated by « , » the first being given priority).
Warning: if you are using an SSH connection, changing the network configuration may cause the connection to be lost (possible crash of the current terminal). You must then reconnect to the new IP address.
Example :
root@debian-bookwoorm:/# esia-configure -S net -M static -i eth0 -a 192.168.1.10 -m 255.255.255.0 -g 192.168.1.1 -n 192.168.1.1,8.8.8.8
#Generate configuration is :
##For /etc/network/interfaces
iface lo inet loopback

auto eth1
allow-hotplug eth1
iface eth1 inet static
    address 10.12.0.203
    netmask 255.255.255.0
    broadcast 10.12.0.255

auto eth0
allow-hotplug eth0
iface eth0 inet static
    address 192.168.1.10
    netmask 255.255.255.0
    gateway 192.168.1.1


##For /etc/resolv.conf
domain esia.local
search esia.local
nameserver 192.168.1.1
nameserver 8.8.8.8

#If you apply, your ssh connection could be lost
#Do you wish to apply this ? (y,n) y


